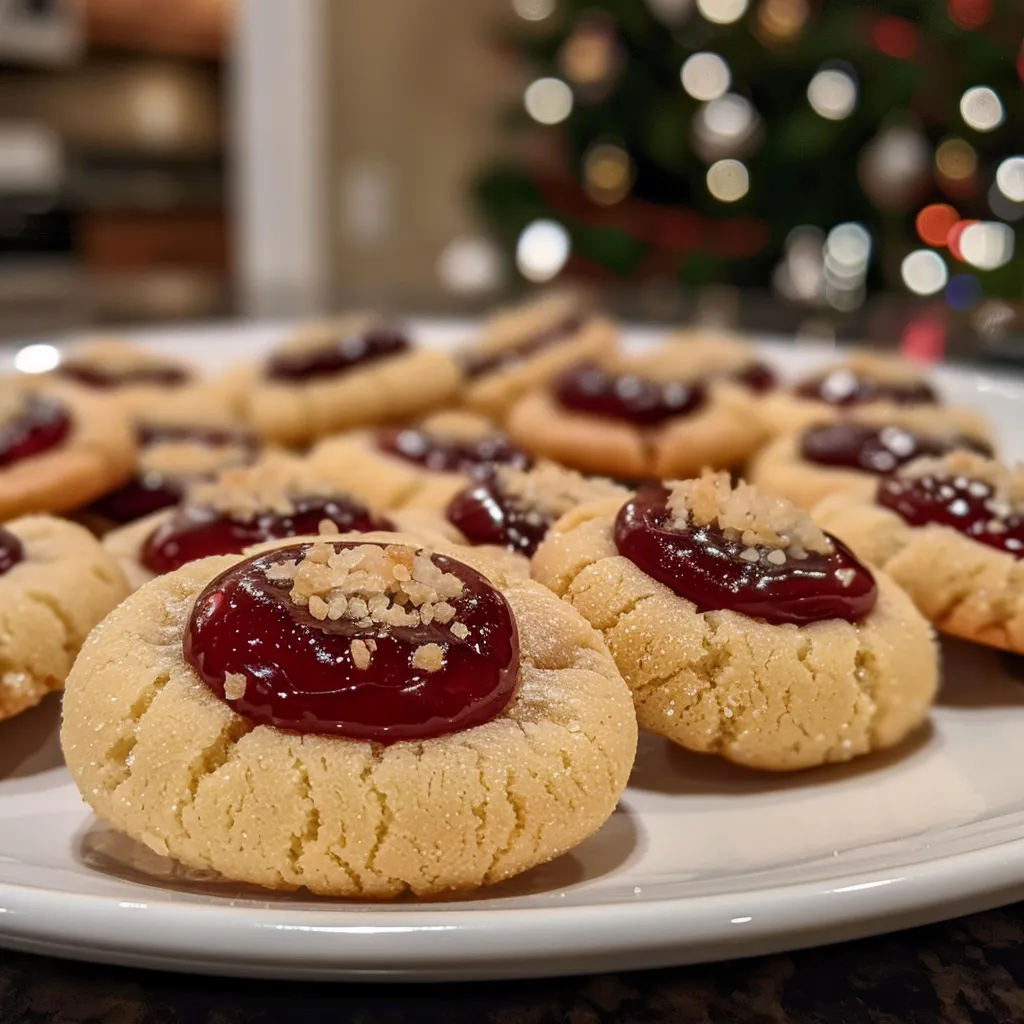
Hey there, cookie lovers! It’s that magical time of year again when the air gets crisp, the lights twinkle, and the aroma of baked goodies fills every corner of the house. If you’re anything like me, you know that the holiday season isn’t just about the presents—it’s about the *presents* of food! And what better way to spread the joy than with a batch of Christmas Thumbprint Cookies? These little gems may not win any beauty pageants (let’s be honest, they’re as messy as my kitchen after a baking spree), but they sure do pack a festive punch that’ll steal the show at any holiday gathering.
Grab your apron and let’s embark on this whimsical baking adventure together! I promise, it’ll be a journey filled with laughter, love, and maybe a sprinkle of flour on your forehead (just me?). So roll up your sleeves and let’s get to work on these delightful thumbprints that are perfect for sharing—or keeping all to yourself. No judgment here!
Why You’ll Absolutely Love Christmas Thumbprint Cookies
These cookies are not just scrumptious; they’re also a festive delight that brings joy to any gathering. Here’s why you’re going to absolutely adore them:
- They’re *so* easy to make! If I can do it while juggling a million other things, so can you!
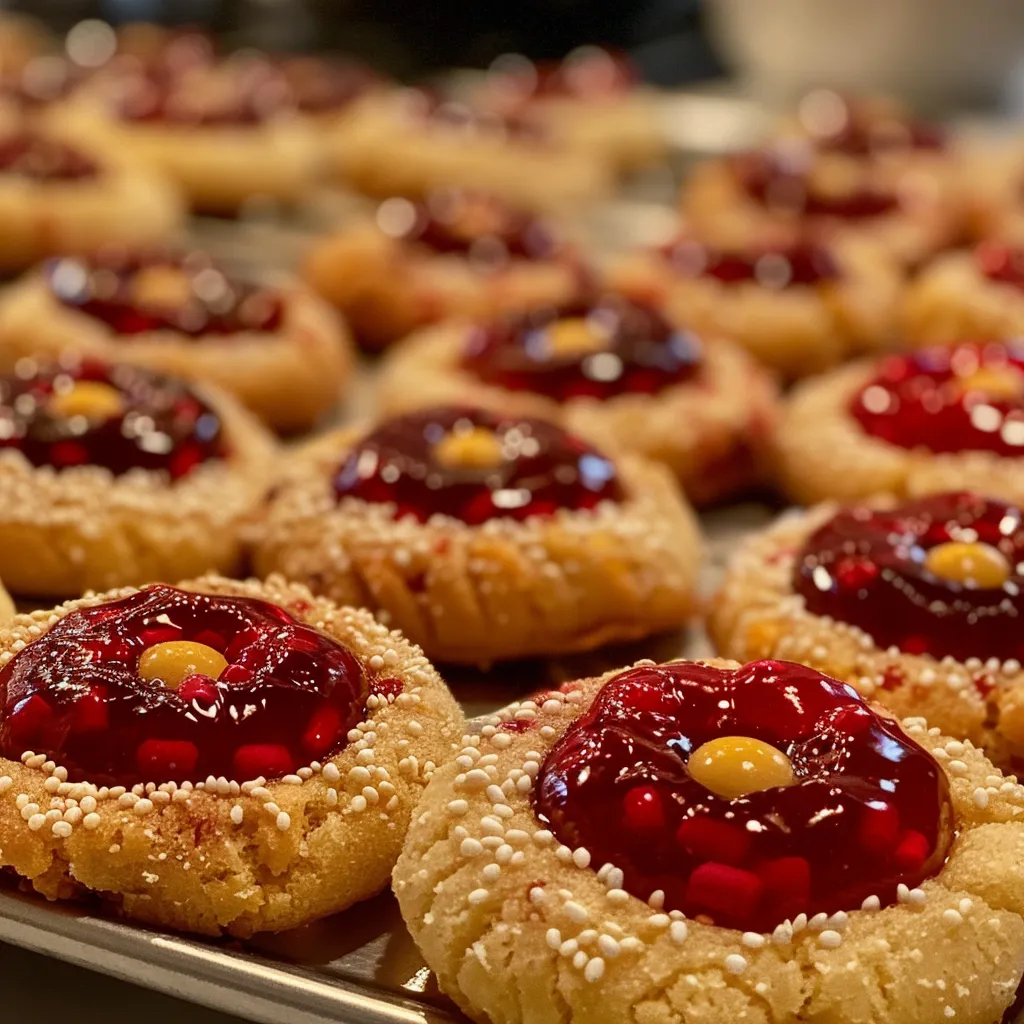
- Each cookie is like a little canvas—fill them with your favorite jam or preserves for a personalized touch.
- They make for a delightful gift! Package them in a cute box for those holiday cookie exchanges or just because.
- They’re the perfect balance of buttery goodness and fruity sweetness, making them utterly irresistible.
Ingredients You’ll Need
Let’s talk about the star players in this baking extravaganza. You’ll need some staples, but trust me, they come together to create pure magic:
- 1 cup unsalted butter, softened: The heart of these cookies! Softened butter ensures a rich and tender texture.
- 1 cup granulated sugar: Because sweetness is the name of the game during the holidays!
- 1 teaspoon vanilla extract: A splash of this makes everything better. It’s like a warm hug in cookie form.
- 2 cups all-purpose flour: The foundation of our thumbprint creations. It gives them structure while keeping them soft.
- 1/4 teaspoon salt: Just a pinch to elevate all the flavors, because we don’t want bland cookies, do we?
- 1/2 cup jam or preserves: I recommend using red or green for that festive flair. Raspberry, strawberry, or even green apple—go wild!
- Powdered sugar for dusting (optional): A little snowy sprinkle to give them that holiday sparkle!
You’ll find the full ingredient list with measurements in the recipe card below!
How to Make Christmas Thumbprint Cookies, Step-by-Step
Now, let’s get our hands dirty and make some magic happen in the kitchen! Here’s how to whip up these delectable cookies:
- Preheat your oven to 350°F (175°C). This is crucial—nobody wants to bake cookies in a cold oven!
- In a large bowl, cream together the softened butter and granulated sugar until light and fluffy. It should look like a dreamy cloud, so don’t rush this step!
- Mix in the vanilla extract. Breathe in that heavenly aroma—seriously, it’s the best!
- Gradually add the flour and salt, mixing until just combined. Don’t overmix; we want soft cookies, not tough ones!
- Roll the dough into 1-inch balls and place them on a baking sheet lined with parchment paper. Give them some space—cookies need room to spread their magic!
- Using your thumb or the back of a teaspoon, make an indent in the center of each ball. This is where the jam will go, so make it deep enough!
- Fill each indent with about 1/2 teaspoon of jam or preserves. Don’t be shy; let that jam shine!
- Bake in the preheated oven for 12-15 minutes or until the edges are lightly golden. Keep an eye on them; you know your oven best!
- Remove from the oven and let cool on the baking sheet for a few minutes before transferring to a wire rack. They need to rest a bit, just like us after holiday shopping!
- Once cooled, dust with powdered sugar if desired. This is optional but highly recommended for that extra holiday charm!
Pro Tips for the Best Results
Here are a few tips to ensure your cookies turn out perfectly every time:
- Make sure your butter is truly softened. If it’s too hard, your cookies might end up dense. I usually leave mine out for about an hour before baking.
- Don’t skip the chilling step if you have time! Letting the dough chill in the fridge for 30 minutes can help the cookies hold their shape better.
- Experiment with different jams! Don’t be afraid to mix and match flavors. The more adventurous, the better!
Serving Suggestions
These cookies are perfect for any occasion, but here are some fun serving ideas:
- Arrange them on a festive platter with a sprinkle of powdered sugar for that holiday wow factor!
- Package them in cute cookie tins with a festive ribbon for the perfect homemade gift.
- Serve them alongside a steaming cup of hot cocoa or your favorite holiday beverage. Trust me, it’s a match made in heaven!
Storage and Make-Ahead Tips
Got leftovers (or are you planning ahead)? Here’s how to keep your cookies fresh:
- Store the cookies in an airtight container at room temperature for up to a week. They’ll stay delicious and soft!
- If you want to make them ahead of time, you can freeze the baked cookies. Just layer them with parchment paper in a freezer-safe container.
- To freeze the dough, roll the balls and place them on a baking sheet to freeze for an hour. Once frozen, transfer them to a bag and bake directly from the freezer—just add a couple of minutes to the baking time!
So there you have it, my festive friends! These Christmas Thumbprint Cookies are not just a treat; they’re a celebration of the season. Happy baking, and remember—if things get a little messy, just embrace it! That’s where the magic happens. Enjoy! 🍪✨

Christmas Thumbprint Cookies
Ingredients
Method
- Preheat oven to 350°F (175°C).
- Cream butter and sugar until fluffy, add vanilla, then mix in flour and salt.
- Form dough into 1-inch balls, make an indent, fill with jam.
- Bake for 12-15 minutes until edges are golden. Cool and dust with powdered sugar if desired.
Notes
Loved this recipe? Save it to your favorite Pinterest board so you can easily find it later! It’s the perfect way to keep all your sweet ideas in one place. ✨