Hey there, fellow food lovers! Let me take you on a little journey through my kitchen, where magic (and a bit of mess) happens every day. Today, we’re diving into a recipe that is not just a treat for your taste buds but also a feast for your eyes. Say hello to my Fudgy Red Velvet Crinkle Cookies! These beauties are the perfect blend of chocolatey goodness and vibrant red color, making them an absolute showstopper for any occasion. Whether it’s a cozy night in or a festive gathering, these cookies are sure to add a sprinkle of joy to your day. And trust me, if you can eyeball your way through the kitchen like I do, you’re going to nail this recipe!
Now, let’s be real for a second: baking can sometimes feel like a daunting task, especially when you’re trying to impress your friends or family. But don’t worry! I’m here to guide you through it with my usual mix of love, laughter, and the occasional kitchen disaster. So grab your apron, and let’s bake it ’til we make it!
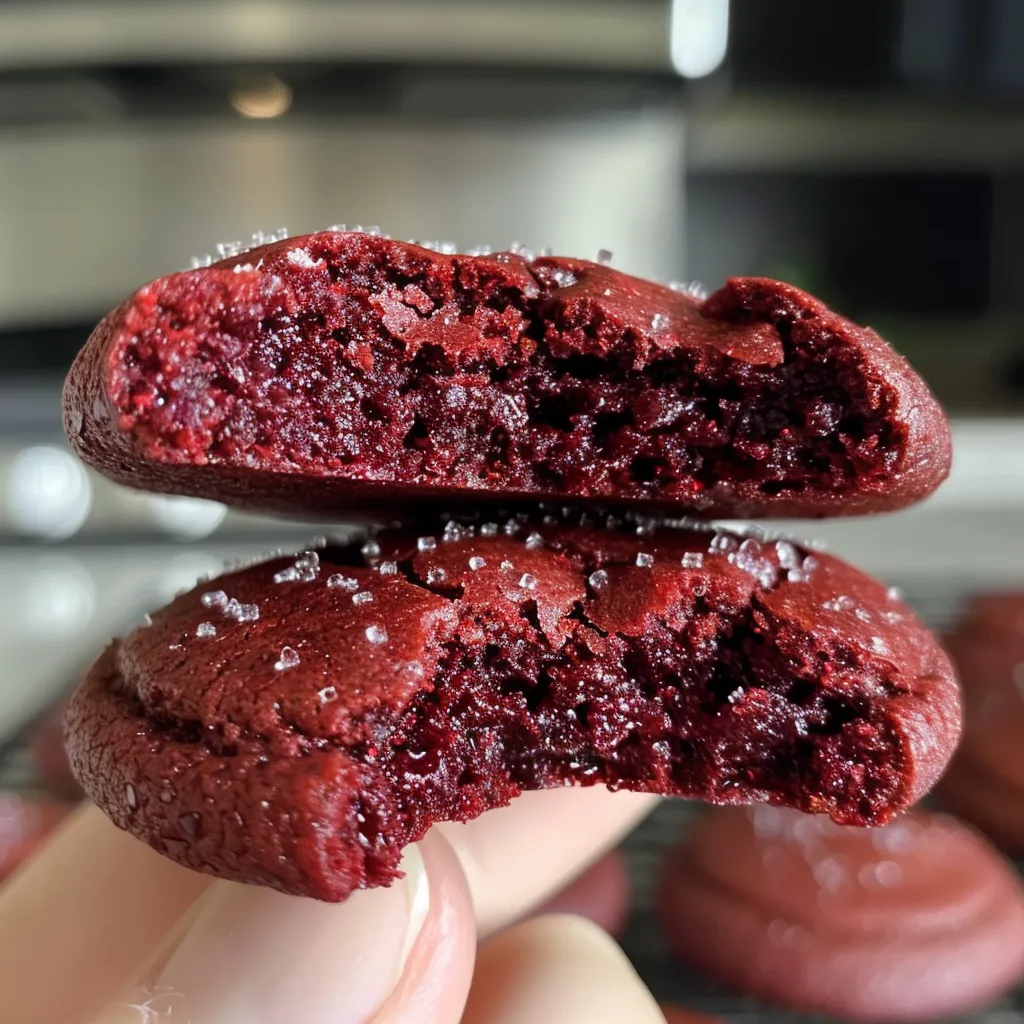
Why You’ll Absolutely Love Red Velvet Crinkle Cookies – Festive and Fudgy
These cookies are not your average dessert; they’re a delightful experience that tantalizes your taste buds and brings a smile to your face. Here’s why you’ll adore them:
- They’re irresistibly fudgy and melt-in-your-mouth delicious.
- The stunning red color makes them perfect for holidays, parties, or just because—it’s Tuesday!
- They’re surprisingly easy to make, even for baking novices. Seriously, if I can do it, so can you!
- They look like you put in hours of effort, but they really only take about 30 minutes of hands-on time. Win-win!
Ingredients You’ll Need
Alright, let’s get into the nitty-gritty of what you’ll need to whip up these delightful treats. You might already have most of these ingredients hanging out in your pantry, which is always a bonus! Here’s the lineup:
- 2 cups all-purpose flour
- 1 tablespoon cocoa powder
- 1 teaspoon baking powder
- 1/2 teaspoon baking soda
- 1/2 teaspoon salt
- 1/2 cup unsalted butter, softened
- 1 cup granulated sugar
- 1 large egg
- 1 tablespoon red food coloring
- 1 teaspoon vanilla extract
- 1/2 cup powdered sugar for coating
You’ll find the full ingredient list with measurements in the recipe card below!
How to Make Red Velvet Crinkle Cookies – Festive and Fudgy, Step-by-Step
Now, let’s get our hands dirty (and maybe a little flour on our faces) as we dive into the step-by-step guide for these fabulous cookies. Ready? Let’s do this!
- Preheat your oven to 350°F (175°C) and line a baking sheet with parchment paper. This will save you from a sticky situation later! Trust me.
- In a bowl, whisk together the flour, cocoa powder, baking powder, baking soda, and salt. This is where the magic begins, so make sure you mix it well!
- In a separate bowl, cream the softened butter and granulated sugar until light and fluffy. You want this to be airy, like your favorite cloud!
- Add the egg, red food coloring, and vanilla extract to the butter mixture, and mix until well combined. If you’re feeling sassy, sing a little while you stir.
- Gradually add the dry ingredients to the wet ingredients, mixing until a soft dough forms. Remember, no worries about perfection here; we embrace the mess!
- Chill the dough in the refrigerator for about 30 minutes. This helps the cookies hold their shape and gives you time to clean up that counter mess.
- Once chilled, scoop tablespoon-sized portions of dough and roll them into balls. If they’re not perfectly round, that’s okay! They’ll still taste amazing.
- Roll each ball in powdered sugar until well coated. This is where they get their signature crinkle, so don’t be shy!
- Place the coated dough balls on the prepared baking sheet, spaced about 2 inches apart. They need a little room to breathe!
- Bake for 10-12 minutes, or until the edges are set and the tops are slightly cracked. Your kitchen is about to smell heavenly!
- Allow the cookies to cool on the baking sheet for a few minutes before transferring them to a wire rack to cool completely. Try not to eat them all while they’re still warm!

Pro Tips for the Best Results
Here are a few tips from my own kitchen adventures to make sure your cookies turn out perfectly:
- Don’t skip the chilling step! It’s crucial for the texture and shape of your cookies.
- For an extra touch of decadence, consider adding chocolate chips to the dough. Because, why not?
- Make sure your butter is softened properly. If it’s too cold, you won’t get that light and fluffy texture!
Serving Suggestions
These cookies are fantastic on their own, but why not elevate the experience? Here are some fun ways to serve them:
- Pair them with a scoop of vanilla ice cream for an indulgent dessert.
- Serve them alongside a hot cup of cocoa or coffee for the perfect afternoon pick-me-up.
- Stack them on a festive platter for parties, or package them up as gifts for friends and family. Who wouldn’t love a little homemade treat?
Storage and Make-Ahead Tips
Now, let’s talk about how to keep your delicious creations fresh. You can store these cookies in an airtight container at room temperature for up to a week (if they last that long!). If you want to make them ahead of time, you can chill the dough and keep it in the fridge for up to 3 days before baking. Or, you can freeze the dough balls and bake them from frozen—just add a minute or two to the baking time. Easy peasy!
So there you have it, my lovely friends! Fudgy Red Velvet Crinkle Cookies that are sure to impress. Remember, the kitchen is a place for fun, creativity, and a little bit of chaos. So, roll up your sleeves and let’s get baking! Until next time, happy cooking! 🍴✨

Red Velvet Crinkle Cookies – Festive and Fudgy
Ingredients
Method
- Preheat oven to 350°F (175°C). Mix dry ingredients in a bowl.
- Cream butter and sugar, then add egg, food coloring, and vanilla.
- Combine dry and wet ingredients to form dough. Chill for 30 minutes.
- Shape dough into balls, coat in powdered sugar, and place on baking sheet.
- Bake for 10-12 minutes, cool before serving.
Notes
Loved this recipe? Save it to your favorite Pinterest board so you can easily find it later! It’s the perfect way to keep all your sweet ideas in one place. ✨