Welcome to the Juiciest Turkey Adventure!
Hey there, fellow food explorers! If you’re ready to dive into the delectable world of turkey cooking, you’re in for a treat. Today, we’re embarking on a fun and flavorful journey to master the Reverse Sear Turkey method! This cooking technique is not just a way to cook a turkey; it’s a culinary adventure that ensures your turkey is juicy, flavorful, and boasts that coveted crisp skin!
Whether it’s a holiday feast or just a regular Sunday dinner, this method will have your friends and family raving about your turkey skills. So grab your apron, and let’s make some kitchen magic (and maybe a little mess) together! 🍗✨
Why You’ll Love This Recipe
- Moist and Juicy Meat: The low and slow technique of reverse searing keeps the turkey breast meat incredibly moist, ensuring no one will be reaching for the gravy!
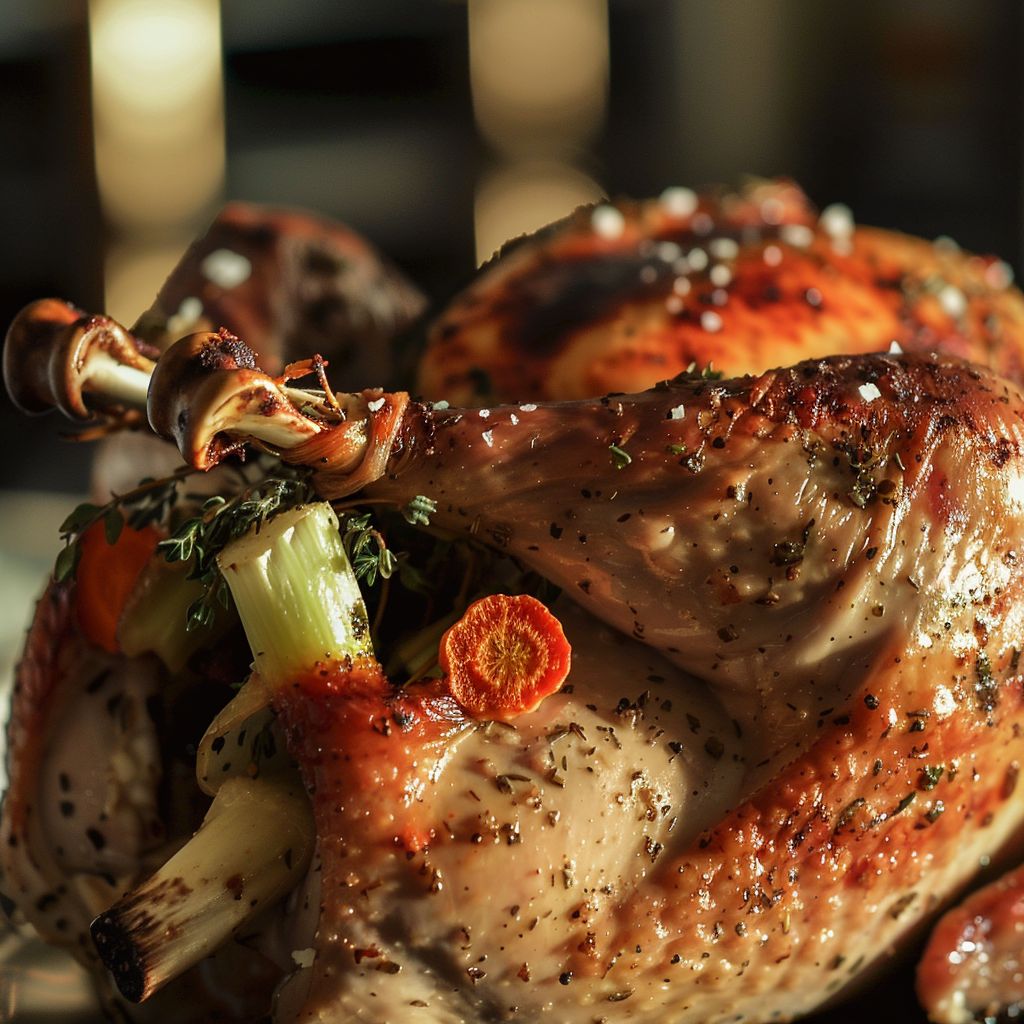
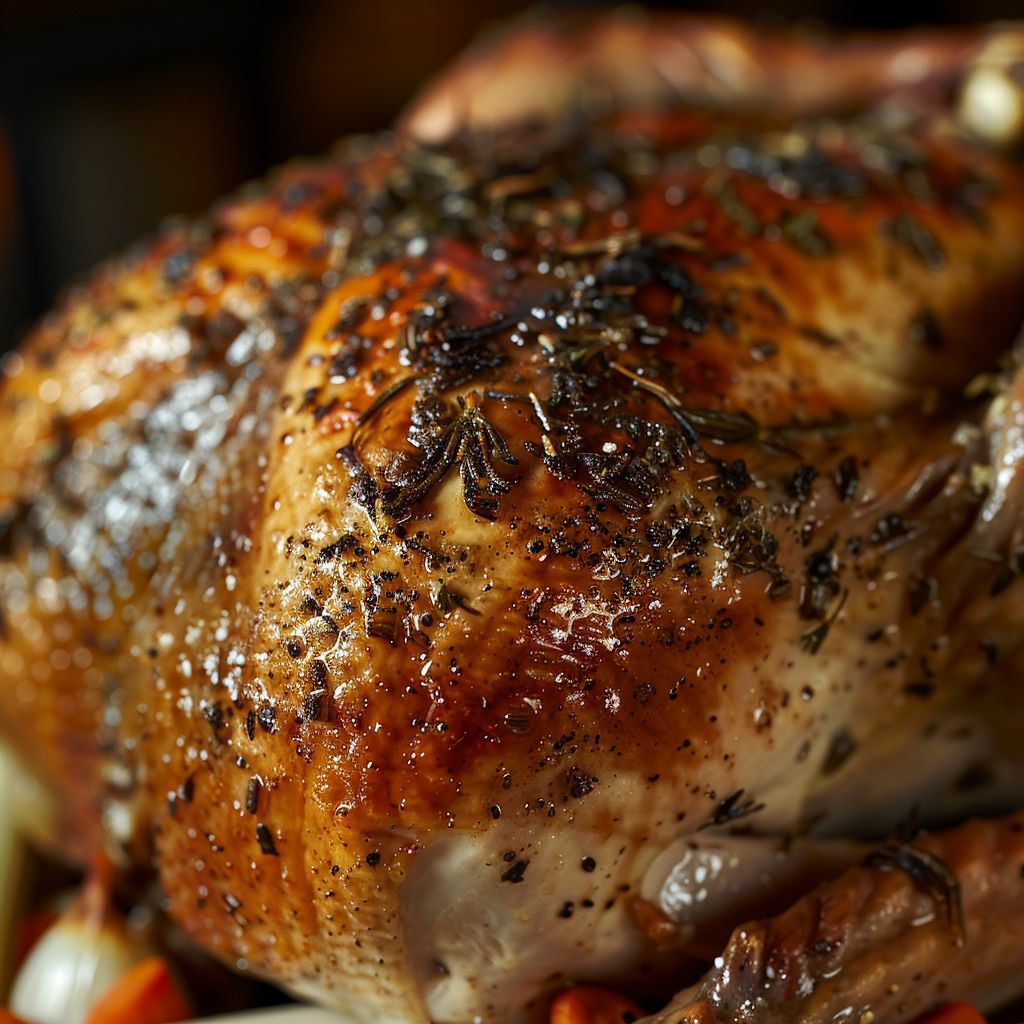
- Crisp Golden Skin: Searing the turkey at the end creates a golden, crispy skin that is a visual feast and a delightful textural contrast to the tender meat.
- Easy to Follow: With straightforward steps and a little patience, this recipe is perfect for both novice cooks and seasoned chefs alike.
- Impressive Presentation: Serve your turkey with pride! The beautiful color and aroma will wow your guests before they even take their first bite.
- Versatile and Adaptable: Feel free to experiment with different herbs and spices to make this turkey uniquely yours!
Ingredient Breakdown
Let’s gather our ingredients! Here’s what you’ll need for this turkey triumph:
- 1 whole turkey (12-14 pounds): For the best results, choose a fresh turkey, but frozen works too—just remember to thaw it!
- Salt and black pepper: Essential for seasoning. Use kosher salt for a more even distribution.
- Olive oil or melted butter: This will help achieve that beautiful, crispy skin.
- Herbs: Fresh rosemary, thyme, and sage are fantastic choices. Dried herbs can work too in a pinch!
- Garlic (optional): Who doesn’t love garlic? It adds a wonderful aroma and flavor.
- Vegetables for roasting: Think carrots, onions, and celery to create a flavorful base and a delicious side.
Pro Tips for Turkey Perfection
Ready to elevate your turkey game? Here are some expert tips to ensure your turkey is the star of the show:
- Temperature Check: Always use a meat thermometer. The turkey should reach an internal temperature of 150°F (65°C) before searing.
- Dry Brine: If you have time, brine the turkey overnight with salt. This helps enhance flavor and moisture.
- Let it Rest: After roasting, allow the turkey to rest for at least 30-60 minutes. This helps the juices redistribute! No one likes a dry turkey.
- Use a Rack: Elevate your turkey on a rack in the roasting pan. This allows air to circulate for even cooking!
- Cover with Foil: If the skin browns too quickly, tent it with foil to prevent burning while the turkey cooks through.
- Experiment with Flavors: Don’t be afraid to use different seasonings! Citrus zest, smoked paprika, or even a splash of bourbon can add a unique twist.
- Invest in a Good Roasting Pan: A sturdy roasting pan makes all the difference. Look for one that can withstand high heat and is large enough for your turkey.
- Keep it Clean: Ensure your workspace is tidy. Cooking can get messy, but a clean kitchen is a happy kitchen!
How to Reverse Sear Turkey: Step-by-Step Instructions
Let’s get cooking! Here’s how to make your own mouthwatering Reverse Sear Turkey:
- Preheat your oven to 225°F (107°C).
- Prepare the turkey by removing the giblets and patting it dry with paper towels. A dry turkey skin is key to crispiness!
- Season generously with salt and black pepper, inside and out. Don’t skimp here; flavor is essential!
- Rub the skin with olive oil or melted butter and sprinkle with herbs and garlic if desired.
- Place the turkey on a rack in a roasting pan, and insert a meat thermometer into the thickest part of the breast.
- Roast the turkey in the preheated oven until the internal temperature reaches 150°F (65°C), about 4-5 hours, depending on size.
- Remove the turkey from the oven and let it rest for 30-60 minutes while you prepare for the searing step.
- Preheat a cast-iron skillet or heavy pan over high heat. This is where the magic happens!
- Once hot, carefully place the turkey in the skillet, breast side down, and sear for 2-3 minutes until golden brown.
- Flip the turkey and sear the other side for another 2-3 minutes.
- Transfer the turkey to a cutting board, cover loosely with foil, and let it rest for at least 20 minutes before carving.
- Serve and enjoy your perfectly reverse-seared turkey!
Common Mistakes and Troubleshooting
We all make mistakes (I’ve had my fair share of kitchen disasters!), but here’s how to avoid common pitfalls:
- Overcooking: Keep an eye on your meat thermometer. Overcooked turkey becomes dry and sad.
- Skipping the Resting Period: Don’t skip letting the turkey rest; it’s crucial for juicy meat!
- Not Using a Rack: Cooking the turkey directly in a pan can lead to steaming instead of roasting. Use a rack!
- Unseasoned Turkey: Don’t be shy with the salt and spices. A well-seasoned turkey is a happy turkey!
Variations to Try
Want to mix things up a bit? Here are some fun variations to try:
- Citrus Herb Turkey: Add orange or lemon zest to the herb mixture for a refreshing twist!
- Spicy Turkey: Incorporate chili powder or cayenne pepper to spice things up!
- Garlic Butter Turkey: Infuse melted butter with garlic and brush it on before roasting.
- Maple Glazed Turkey: Brush the turkey with maple syrup during the last hour of roasting for a sweet and savory finish!
Storage and Make-Ahead Instructions
Want to prep ahead? Here’s how to store and make this turkey recipe in advance:
- Make-Ahead: Season the turkey the night before and keep it in the fridge, uncovered. This helps to dry out the skin for extra crispiness.
- Leftovers: Store any leftover turkey in an airtight container in the fridge for up to 3-4 days.
- Freezing: You can freeze turkey leftovers for up to 2-3 months. Just make sure to slice it before freezing for easier thawing!
Frequently Asked Questions
Got questions? I’ve got answers!
- Can I use a frozen turkey? Yes, but be sure to thaw it completely before cooking!
- What’s the best way to know when my turkey is done? Use a meat thermometer; it’s the best way to ensure your turkey is cooked perfectly!
- Can I reverse sear a turkey breast? Absolutely! Just adjust the cooking time based on the size.
- What sides go well with turkey? Classic sides like mashed potatoes, green beans, and stuffing are always a hit!
- How long should I let the turkey rest? Aim for at least 30-60 minutes to allow the juices to redistribute.
- Can I use this method for other meats? Yes! The reverse sear technique works great for prime rib, pork, and even chicken!
- Is it safe to stuff the turkey? It’s safer to cook stuffing separately to ensure it reaches a safe temperature.
- What’s the best way to carve a turkey? Let it rest, then use a sharp knife to slice against the grain for tender pieces.
Nutritional Tips and Dietary Adaptations
Keeping it healthy? Here are some tips for a balanced turkey dinner:
- Lean Protein: Turkey is a great source of lean protein, making it a healthy choice for your meals.
- Pair with Veggies: Serve roasted vegetables alongside your turkey to create a colorful, nutritious plate.
- Low-Sodium Options: Use low-sodium broth or seasonings to keep sodium levels in check.
- Gluten-Free: This recipe is naturally gluten-free, making it perfect for those with gluten sensitivities.
Equipment Recommendations
Here’s what you’ll need to make this turkey masterpiece:
- Meat Thermometer: An essential tool for perfectly cooked turkey.
- Cast Iron Skillet: Ideal for searing the turkey to crispy perfection.
- Roasting Pan with Rack: A sturdy, durable roasting pan helps with even cooking.
- Sharp Carving Knife: Make serving easier with a good-quality knife for carving.
Serving Suggestions
Now that your turkey is ready and looks fabulous, here are some fun serving ideas:
- Carve and Serve: Present your carved turkey on a large platter, garnished with fresh herbs and lemon slices.
- Pair with Sides: Serve with classic sides like stuffing, mashed potatoes, and gravy to create a hearty meal.
- Make Sandwiches: Use any leftovers to make delicious turkey sandwiches the next day!
- Creative Leftovers: Turn leftovers into turkey soup or turkey tacos for a fun twist!
In Conclusion
Congratulations, culinary adventurer! You’ve just mastered the art of the Reverse Sear Turkey. With juicy meat, crispy skin, and endless flavor, you’re well on your way to becoming the turkey whisperer. Remember, cooking is all about enjoying the process and having fun in the kitchen—mess and all! So go forth, impress your loved ones, and most importantly, enjoy every delicious bite. Happy cooking! 🍽️❤️

Step-by-Step Instructions - How to Reverse Sear Turkey
Ingredients
Method
- Preheat oven to 225°F (107°C). Prepare and season the turkey, then roast until internal temp reaches 150°F (65°C), about 4-5 hours.
- Let the turkey rest for 30-60 minutes. Preheat a skillet over high heat.
- Sear the turkey breast side down for 2-3 minutes, then flip and sear the other side for 2-3 minutes until golden.
- Transfer to a cutting board, cover loosely, and rest for 20 minutes before carving. Serve and enjoy!
Notes
Loved this recipe? Save it to your favorite Pinterest board so you can easily find it later! ✨