Hey there, dessert lovers! Lina here, ready to share a slice (or, well, a bar!) of pure spring and summer bliss. Forget those fancy, fussy desserts – we’re diving headfirst into a batch of Strawberry Rhubarb Cheesecake Bars that are so easy to make, they practically bake themselves. Seriously, if I can do it with a toddler clinging to my leg and a dog trying to steal the rhubarb, you can definitely nail this. These bars are tart, sweet, creamy, and utterly addictive. Get ready to meet your new favorite treat!
Why You’ll Love This Strawberry Rhubarb Cheesecake Bars Recipe
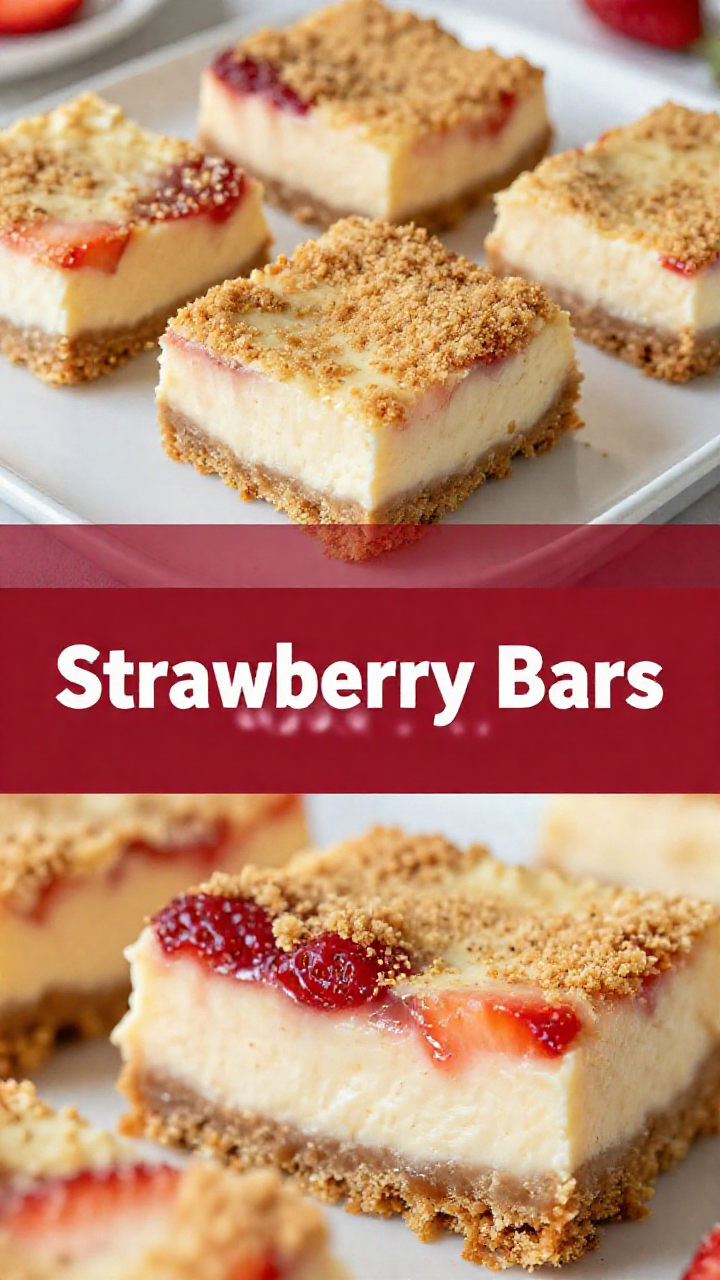
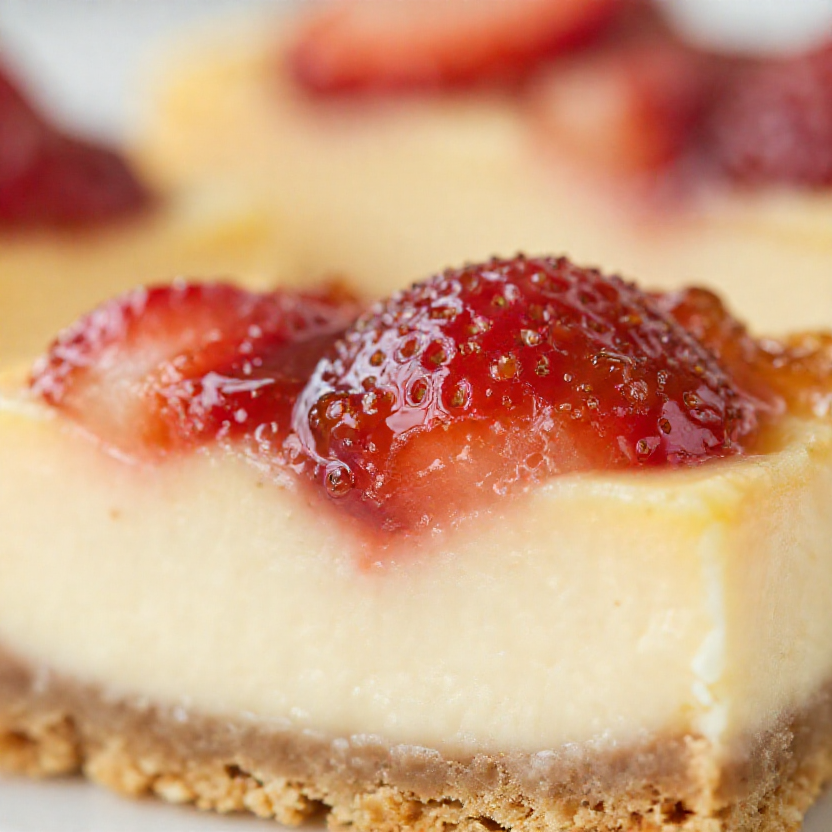
Okay, picture this: a buttery graham cracker crust, a luscious cheesecake filling, and a tangy-sweet topping of perfectly cooked strawberries and rhubarb. Need I say more? But seriously, here’s why these bars are about to become your go-to dessert:
- Easy Peasy: We’re talking minimal effort, maximum flavor. No complicated steps or fancy equipment needed.
- Crowd-Pleaser: From potlucks to picnics, these bars are always a hit. They’re the kind of dessert that disappears in minutes, leaving everyone begging for the recipe.
- Perfect Balance: The tartness of the rhubarb and strawberries perfectly complements the richness of the cheesecake. It’s a flavor explosion in every bite.
- Make-Ahead Friendly: These bars actually taste better after they’ve had a chance to chill in the fridge, making them perfect for prepping ahead of time.
- Versatile: Feel free to swap out the fruit, add a crumble topping, or drizzle with chocolate. The possibilities are endless!
Ingredients You’ll Need
- ‘1 1/2 cups graham cracker crumbs’
- ‘1/4 cup sugar’
- ‘6 tablespoons unsalted butter, melted’
- ‘2 (8 ounce) packages cream cheese, softened’
- ‘3/4 cup sugar’
- ‘1 teaspoon vanilla extract’
- ‘2 large eggs’
- ‘2 cups chopped rhubarb’
- ‘1 cup chopped strawberries’
- ‘1/4 cup sugar’
- ‘1 tablespoon cornstarch’
How to Make Strawberry Rhubarb Cheesecake Bars: Step-by-Step
Alright, let’s get baking! Don’t worry, I’ll walk you through every step. Remember, we’re aiming for delicious, not perfect. So, if you spill a little sugar or your crust isn’t perfectly even, don’t sweat it. It’ll still taste amazing.
- Get Ready to Bake: Preheat your oven to 350 degrees F (175 degrees C). This is crucial! A consistent temperature ensures even baking.
- Make the Crust: In a bowl, combine the graham cracker crumbs, 1/4 cup sugar, and melted butter. Mix it all up until it resembles wet sand. Press this mixture firmly into the bottom of a 9×13 inch baking dish. I like to use the bottom of a measuring cup to really pack it down.
- Whip Up the Cheesecake Filling: In a large bowl, beat the softened cream cheese and 3/4 cup sugar until smooth and creamy. This is where a hand mixer or stand mixer comes in handy, but you can also do it by hand if you’re feeling ambitious. Beat in the vanilla extract and eggs until just combined. Be careful not to overmix, as this can cause the cheesecake to crack.
- Prepare the Strawberry Rhubarb Topping: In a separate bowl, combine the chopped rhubarb, chopped strawberries, 1/4 cup sugar, and cornstarch. The cornstarch helps to thicken the topping as it bakes, preventing it from becoming too watery.
- Assemble and Bake: Pour the cream cheese mixture over the prepared crust. Then, spoon the strawberry-rhubarb mixture evenly over the cream cheese layer. Bake for 30-35 minutes, or until the filling is set and the edges are lightly golden brown. The center should still have a slight jiggle to it.
- Cool Completely: This is the hardest part, I know! But it’s essential to let the cheesecake bars cool completely before cutting into them. This allows the filling to set properly and prevents them from falling apart. Cool the bars at room temperature and then transfer them to the refrigerator to chill for at least 2 hours, or preferably overnight.
Pro Tips for Perfect Cheesecake Bars
Want to take your Strawberry Rhubarb Cheesecake Bars to the next level? Here are a few of my tried-and-true tips:
- Softened Cream Cheese is Key: Make sure your cream cheese is completely softened before you start mixing. This will ensure a smooth, lump-free filling.
- Don’t Overmix: Overmixing the cheesecake filling can incorporate too much air, which can cause the bars to crack during baking. Mix until just combined.
- Use a Water Bath (Optional): For an even creamier cheesecake, you can bake the bars in a water bath. Wrap the bottom of the baking dish in aluminum foil and place it in a larger baking pan. Fill the larger pan with hot water until it reaches about halfway up the sides of the baking dish. This helps to regulate the temperature and prevent the cheesecake from drying out.
- Cool Slowly: After baking, turn off the oven and crack the door open slightly. Let the bars cool in the oven for about an hour before transferring them to room temperature. This helps to prevent cracking.
- Chill Thoroughly: As mentioned before, chilling the bars completely is essential for the best flavor and texture. I recommend chilling them overnight if possible.
Common Mistakes to Avoid
We all make mistakes in the kitchen, but here are a few common pitfalls to watch out for when making these cheesecake bars:
- Using Cold Cream Cheese: This will result in a lumpy filling that’s hard to mix smoothly.
- Overbaking the Cheesecake: Overbaked cheesecake can be dry and crumbly. The filling should still have a slight jiggle to it when you take it out of the oven.
- Cutting the Bars While Warm: This will result in messy, falling-apart bars. Be patient and let them cool completely before cutting.
- Skipping the Cooling Process: Cooling the bars slowly helps to prevent cracking and ensures a creamy texture.
Variations to Try
Want to mix things up a bit? Here are a few fun variations to try:
- Add a Crumble Topping: Combine flour, sugar, butter, and oats to make a delicious crumble topping. Sprinkle it over the strawberry-rhubarb mixture before baking.
- Use Different Fruit: Swap out the strawberries and rhubarb for other fruits like blueberries, raspberries, or peaches.
- Drizzle with Chocolate: Drizzle melted white or dark chocolate over the cooled bars for an extra touch of sweetness.
- Add Lemon Zest: Add a teaspoon of lemon zest to the cheesecake filling for a bright, citrusy flavor.
- Make Mini Bars: Bake the cheesecake in a muffin tin for individual mini bars.
How to Store Your Strawberry Rhubarb Cheesecake Bars
These bars are best stored in the refrigerator. Here’s how to keep them fresh:
- Storage Wrap: Wrap the bars tightly in plastic wrap or store them in an airtight container.
- Refrigerate: They will keep in the refrigerator for up to 5 days.
- Freezing: You can also freeze these bars for longer storage. Wrap them individually in plastic wrap and then place them in a freezer bag. They will keep in the freezer for up to 2 months. Let them thaw in the refrigerator before serving.
Frequently Asked Questions (FAQ)
- Can I use frozen rhubarb and strawberries? Yes, you can! Just make sure to thaw them completely and drain off any excess liquid before using them.
- Can I make these bars gluten-free? Yes, you can! Simply use gluten-free graham crackers for the crust.
- Can I use a different type of crust? Absolutely! A shortbread crust or a cookie crust would also be delicious.
- Why did my cheesecake crack? Cracking can be caused by overbaking, overmixing, or sudden temperature changes. Follow the tips above to prevent cracking.
- Can I reduce the sugar? Yes, you can reduce the sugar slightly, but keep in mind that it will affect the overall sweetness and texture of the bars.
Serving Suggestions
These Strawberry Rhubarb Cheesecake Bars are delicious on their own, but here are a few ideas for serving them:
- With a dollop of whipped cream: A classic combination that never fails.
- With a scoop of vanilla ice cream: Perfect for a hot summer day.
- With a drizzle of fruit sauce: Raspberry or strawberry sauce would be a delicious addition.
- With a sprinkle of chopped nuts: Adds a nice crunch and nutty flavor.
- As part of a dessert platter: These bars are a great addition to any dessert spread.
So there you have it! My foolproof recipe for Strawberry Rhubarb Cheesecake Bars. I hope you love them as much as I do. Now go forth and bake something amazing – and don’t forget to embrace the mess! Happy baking, friends! And remember to check out my rhubarb-dump-cake recipe, it’s another rhubarb favorite!

Delicious Strawberry Rhubarb Cheesecake Bars
Ingredients
Method
- Preheat oven to 350 degrees F (175 degrees C).
- Combine graham cracker crumbs, 1/4 cup sugar, and melted butter. Press into a 9x13 inch baking dish.
- Beat cream cheese and 3/4 cup sugar until smooth. Beat in vanilla and eggs until just combined.
- Combine rhubarb, strawberries, 1/4 cup sugar, and cornstarch in a separate bowl.
- Pour cream cheese mixture over the crust. Spoon rhubarb-strawberry mixture over the cream cheese layer.
- Bake for 30-35 minutes, or until the filling is set. Let cool completely before cutting into bars.
Notes