Welcome to my kitchen, my friends! Today, we’re embarking on a whimsical baking adventure with a classic favorite: Thumbprint Cookies! Now, don’t let the name fool you — these little beauties are not just about the cute indentations (though they are adorable). They’re all about embracing the chaos of life, one delicious bite at a time. Picture this: You’ve had a long day, the kids are running wild, and the kitchen looks like a flour bomb went off. But then, you whip up a batch of these cookies, and suddenly everything feels a little brighter. It’s like turning on the fairy lights of your heart while simultaneously trying not to trip over the kitchen mat. Ah, the magic of baking! 🍪✨
These cookies are the epitome of comfort food — buttery, sweet, and filled with your favorite fruit preserves. Plus, they’re perfect for sharing during the holidays, and who doesn’t love a cookie that looks like it was made with love (even if it also involves a few happy accidents)? So, grab your apron, and let’s make some thumbprints of joy together!
Why You’ll Absolutely Love Classic Thumbprint Cookies
Let me tell you why these cookies are about to become your new best friend in the kitchen:
- They’re easy-peasy! Even if you’re a kitchen novice, you can whip these up without breaking a sweat.
- The flavor combinations are endless! Whether you’re team raspberry, apricot, or strawberry, you can customize them to suit your taste buds.
- They’re a total crowd-pleaser! Bring these to your next gathering, and watch them disappear faster than you can say “thumbprint!”
- They’re a sweet reminder that the best things in life come with a sprinkle of laughter and a dash of mess. Because honestly, who needs perfection?
Ingredients You’ll Need
Now, let’s talk about the star players in our cookie-making drama! You’ll need some simple ingredients, most of which I bet you already have hanging around in your pantry. Here’s the lineup:
- 1 cup unsalted butter, softened — because butter makes everything better, am I right?
- 2/3 cup granulated sugar — for that sweet touch that brings us all together.
- 1 teaspoon vanilla extract — the magic ingredient that makes our cookies sing.
- 2 cups all-purpose flour — the backbone of our cookie structure.
- 1/4 teaspoon salt — a little pinch to elevate all those flavors.
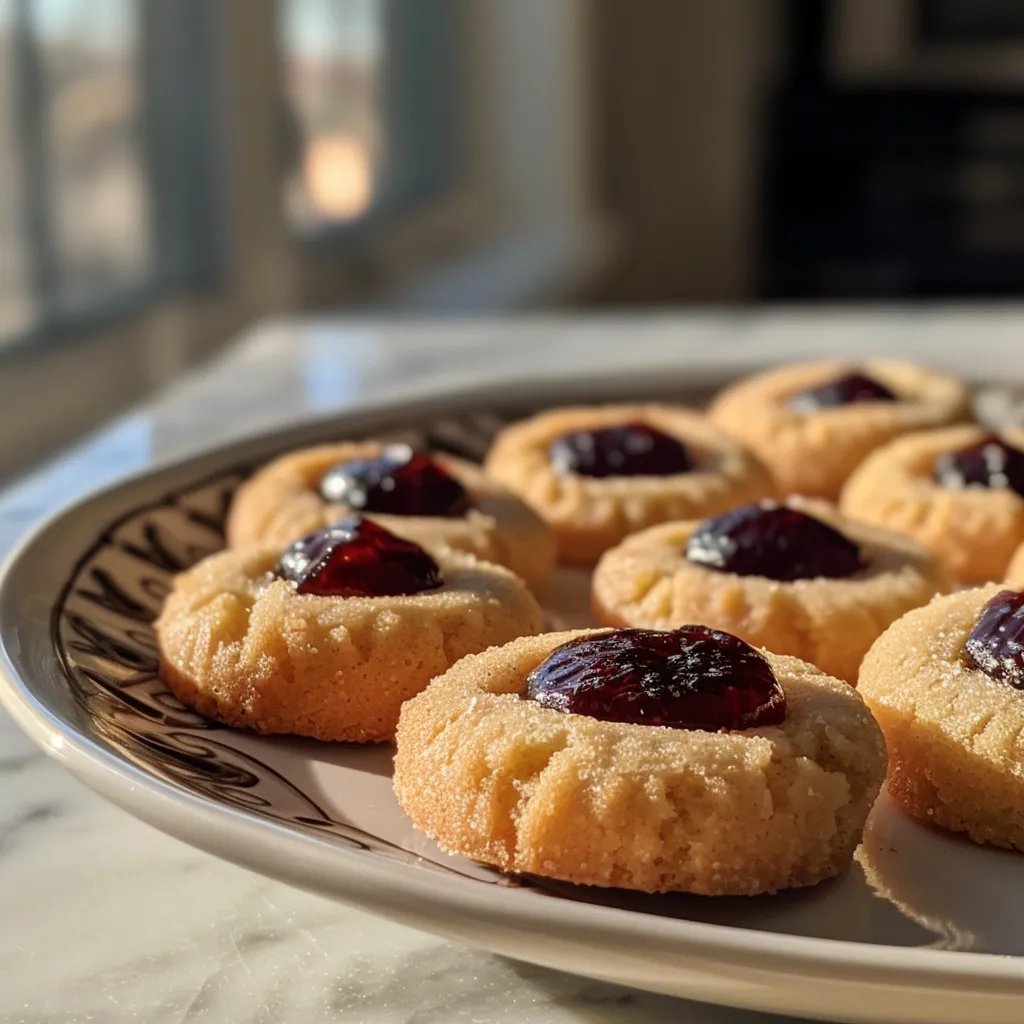
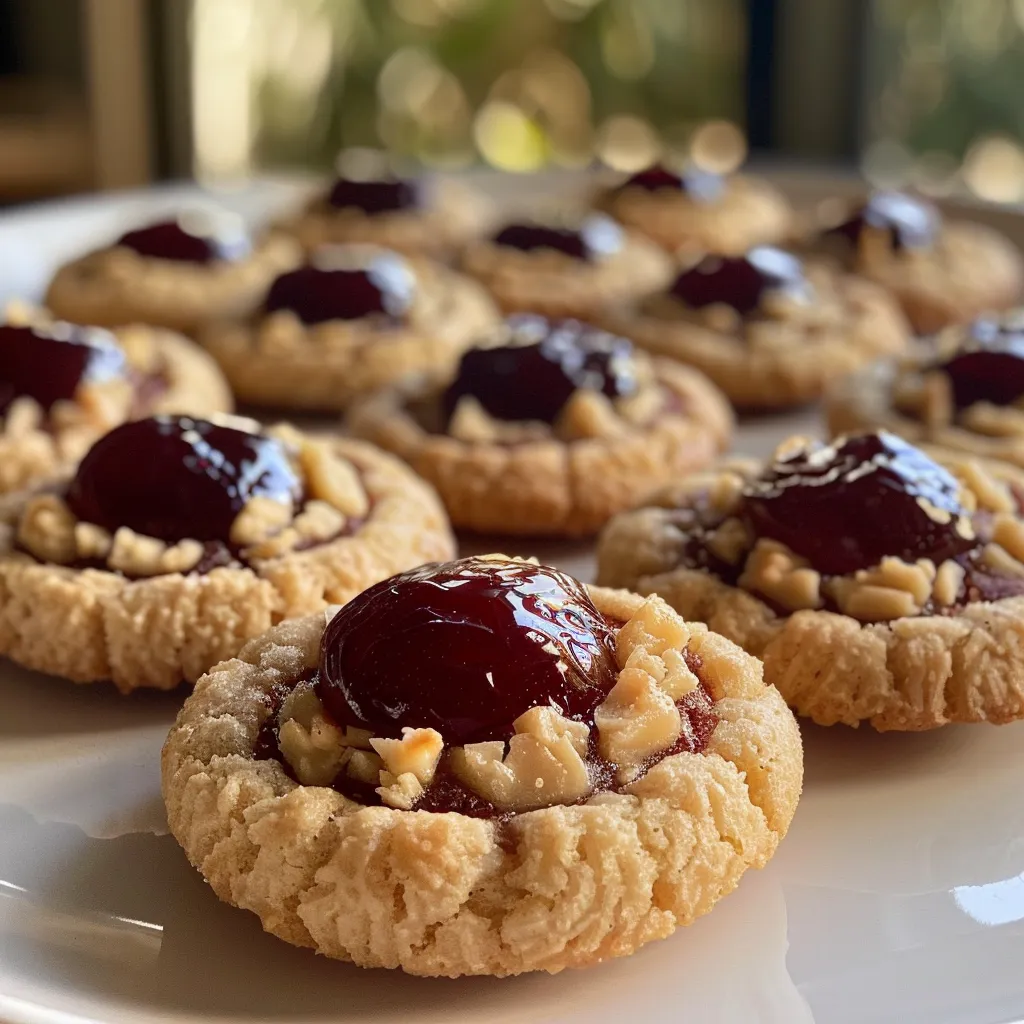
- 1/2 cup fruit preserves (think raspberry, apricot, or strawberry) — the delightful surprise in the middle!
- Optional: powdered sugar for dusting — because we all love a little sprinkle of fairy dust.
You’ll find the full ingredient list with measurements in the recipe card below!
How to Make Classic Thumbprint Cookies, Step-by-Step
Alright, let’s roll up those sleeves and get baking! Here’s how to create these delightful cookies, step-by-step:
- Preheat your oven to 350°F (175°C). This is the perfect time to channel your inner oven whisperer.
- In a large mixing bowl, cream together the softened butter and granulated sugar until light and fluffy. You want it to look like sunshine in a bowl!
- Add the vanilla extract and mix until combined. This is where the magic begins!
- In a separate bowl, whisk together the flour and salt. This is your dry mixture; let’s keep it dry and sassy!
- Gradually add the dry ingredients to the butter mixture, mixing until just combined. Don’t overdo it; we want these cookies to be tender, not tough!
- Roll the dough into 1-inch balls and place them on a baking sheet lined with parchment paper. Give them some space — they like to spread out and mingle.
- Use your thumb or the back of a spoon to create an indentation in the center of each cookie. This is the part where you can get creative! Don’t worry if they look a little quirky — that’s the charm!
- Fill each indentation with about 1/2 teaspoon of fruit preserves. Go wild with your favorite flavors!
- Bake in the preheated oven for 12-15 minutes or until the edges are lightly golden. The aroma will be heavenly!
- Allow the cookies to cool on the baking sheet for a few minutes before transferring them to a wire rack to cool completely. Patience is key, my friends!
- Optional: Dust with powdered sugar before serving for that extra touch of elegance.
Pro Tips for the Best Results
Now, I wouldn’t be a good friend if I didn’t share a few pro tips to help you nail these cookies:
- Make sure your butter is softened, but not melting. We’re aiming for creamy goodness, not a buttery puddle.
- Don’t skip the chilling step! If your dough feels too soft, pop it in the fridge for 30 minutes before rolling. This will help your cookies hold their shape.
- Experiment with different preserves! You can even mix and match to create your own signature cookie. Get wild with it!
Serving Suggestions
When it comes to serving these cookies, the possibilities are endless! Pair them with a cup of hot cocoa or a glass of milk for that cozy vibe. You could even stack them on a beautiful platter for a festive dessert table or wrap them up as sweet gifts for your friends and family. Trust me, they’ll appreciate a homemade treat more than another scented candle!
Storage and Make-Ahead Tips
These cookies can be stored in an airtight container for up to a week — if they last that long! You can also freeze the dough for up to three months. Just roll the dough into balls, freeze them on a baking sheet, and then transfer them to a freezer bag. When you’re ready to bake, pop them straight from the freezer into the oven, adding an extra minute or two to the baking time. Easy peasy!

Classic Thumbprint Cookies
Ingredients
Method
- Preheat oven to 350°F (175°C).
- Cream butter and sugar until fluffy, add vanilla, then mix in flour and salt.
- Form dough into 1-inch balls, place on parchment-lined baking sheet, and make an indentation in each.
- Fill indentations with preserves and bake for 12-15 minutes until edges are golden.
- Cool cookies, then optionally dust with powdered sugar before serving.
Notes
Loved this recipe? Save it to your favorite Pinterest board so you can easily find it later! It’s the perfect way to keep all your sweet ideas in one place. ✨