Get Ready for the Ultimate Bisquick Cobbler Adventure!
Welcome, fellow culinary explorers! Today, we’re diving into a delightful journey of flavors with the Ultimate Bisquick Cobbler. This quick and easy dessert is not just a treat for your taste buds; it’s a showstopper that will have your friends and family raving about your culinary skills. Packed with fresh peaches and a sprinkle of love, this bisquick cobbler recipe is perfect for any occasion. So, grab your apron, and let’s get started!
Why You’ll Absolutely Love This Recipe
Here are a few reasons why this bisquick cobbler is sure to become your new favorite:
- Quick and Easy: With minimal prep time and simple ingredients, you can whip this up in no time, making it perfect for those spontaneous gatherings.
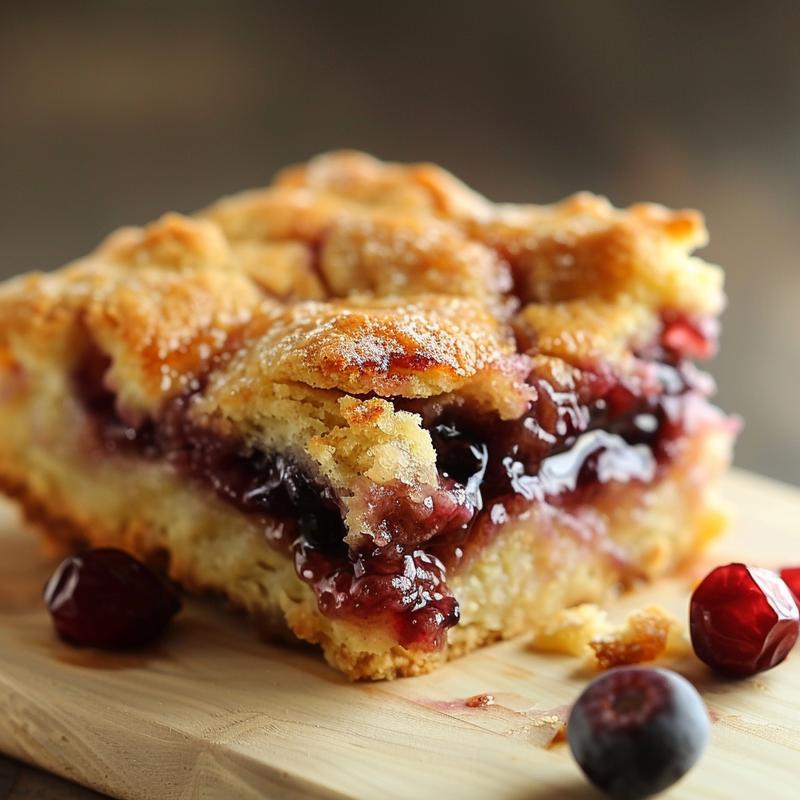
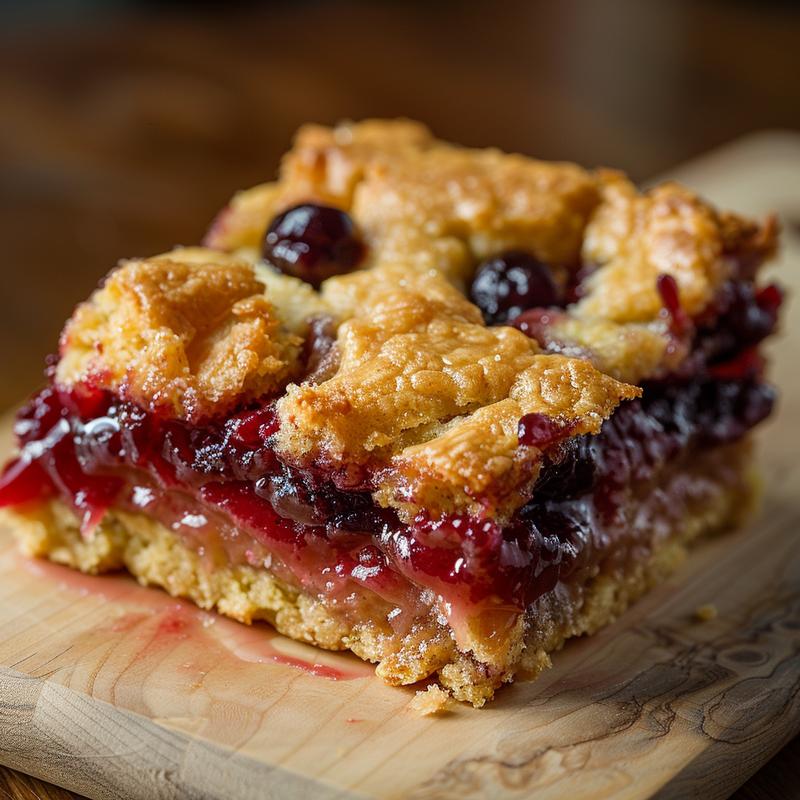
- Versatile Fruit Filling: While we’re using fresh peaches, you can easily swap them out for your favorite fruits like berries, apples, or even plums!
- Perfect Texture: The combination of a soft, buttery biscuit topping and sweet, juicy fruit creates a heavenly contrast that will have you going back for seconds (and thirds).
- Make Ahead Friendly: This cobbler can be prepared ahead of time, so you can sit back, relax, and enjoy the compliments.
- Family-Friendly Fun: Get the kids involved! It’s a great way to teach them about cooking while having a blast in the kitchen.
Ingredient Breakdown: What You’ll Need
Gather your supplies! Here’s what you need to create this scrumptious bisquick cobbler:
- 4 cups fresh peaches: Peeled and sliced. You can substitute with other fruits like berries, cherries, or even canned fruit (just drain the syrup).
- 1 cup granulated sugar: Sweeten to taste! You can use less sugar if your fruit is particularly sweet.
- 1 tablespoon lemon juice: A splash of acidity to enhance the flavors.
- 1 teaspoon ground cinnamon: Adds warmth and depth to your cobbler.
- 1 tablespoon cornstarch: Helps to thicken the fruit filling; you can use flour if you’re in a pinch.
- 1 cup all-purpose flour: The star ingredient for our biscuit topping.
- 1 cup milk: Use whole, 2%, or even a dairy-free alternative.
- 1/2 cup unsalted butter: Melted, for that rich flavor.
- 1 teaspoon vanilla extract: A splash of vanilla makes everything better!
- 1 tablespoon baking powder: This gives our cobbler its lovely rise.
- 1/2 teaspoon salt: A pinch of salt to balance the sweetness.
Let’s Make This Magic Happen!
Follow these simple steps to create your bisquick cobbler masterpiece:
- Preheat the oven: Set it to 350°F (175°C) so it’s nice and hot when your cobbler is ready to bake.
- Prepare the fruit filling: In a large bowl, combine the sliced peaches, 1/2 cup of sugar, lemon juice, cinnamon, and cornstarch. Mix well and set aside to let those flavors mingle.
- Mix the dry ingredients: In another bowl, whisk together the flour, remaining sugar, baking powder, and salt.
- Combine wet and dry: Add the milk, melted butter, and vanilla extract to the dry ingredients. Mix until just combined (a few lumps are okay!).
- Pour the batter: Into a greased baking dish, spread the batter evenly.
- Top with peaches: Spoon the peach mixture over the batter, ensuring an even distribution.
- Bake: Place in the preheated oven and bake for 45-50 minutes, or until the top is golden brown and a toothpick comes out clean.
- Cool and serve: Allow to cool slightly before diving in. Enjoy your cobbler warm, preferably with a scoop of ice cream!
Pro Tips for the Perfect Cobbler
Want to elevate your cobbler game? Here are some insider tips:
- Use Fresh Ingredients: Fresh fruit provides the best flavor and texture, but if you’re using frozen, make sure to thaw and drain them well.
- Don’t Overmix: When combining wet and dry ingredients, mix just until combined. Overmixing can lead to a dense cobbler.
- Experiment with Spices: Don’t hesitate to add a dash of nutmeg or allspice to the fruit mixture for an extra flavor boost.
- Check for Doneness: Use a toothpick to test the center of the cobbler; it should come out clean when it’s ready.
- Allow Cooling Time: Letting it cool slightly allows the juices to thicken up a bit more.
- Pair with Ice Cream: A scoop of vanilla ice cream on top of warm cobbler is the ultimate comfort food experience!
- Try Different Fruits: This recipe is versatile; feel free to experiment with berries, apples, or whatever fruit you have on hand.
- Make it Gluten-Free: Substitute all-purpose flour with gluten-free flour for a delicious gluten-free option.
Avoiding Common Mistakes
Here are some common pitfalls and how to avoid them:
- Too Watery: If your cobbler is too watery, you may have added too much sugar or not enough cornstarch. Adjust accordingly next time!
- Burnt Edges: If you notice the edges browning too quickly, cover the cobbler with foil during baking.
- Underbaked Center: Make sure to check for doneness in the center of your cobbler with a toothpick; it should come out clean.
Storage and Make-Ahead Instructions
Want to keep your cobbler fresh? Here’s how!
- Storing Leftovers: Store any leftovers in an airtight container in the refrigerator for up to 3 days.
- Reheating: Reheat in the oven at 350°F (175°C) until warmed through, or pop it in the microwave for a quick fix.
- Make Ahead: You can prepare the fruit filling a day in advance and store it in the fridge. Just assemble and bake when you’re ready!
Frequently Asked Questions
Got questions? We’ve got answers!
- Can I use frozen fruit? Yes! Just thaw and drain them to avoid excess liquid.
- Is this recipe gluten-free? You can make it gluten-free by using gluten-free flour.
- How do I store leftovers? Keep them in an airtight container in the fridge for up to 3 days.
- Can I add nuts? Absolutely! Chopped pecans or walnuts can add a delightful crunch.
- What if I don’t have Bisquick? You can make your own baking mix with flour, baking powder, salt, and butter.
- How can I make it less sweet? Reduce the sugar in the peach mixture; the natural sweetness of the fruit will shine through.
- Can I double the recipe? Yes! Just use a larger baking dish and adjust the baking time as needed.
- How do I know when it’s done? A toothpick inserted into the center should come out clean.
Nutrition and Dietary Adaptations
Here’s the nutritional lowdown on this yummy dessert:
Each serving of this bisquick cobbler packs a sweet punch but also contains:
- Calories: Approx. 250
- Fat: 10g
- Sugar: 15g
For healthier adaptations, consider:
- Using coconut sugar: A great alternative to granulated sugar.
- Substituting butter with coconut oil: For a dairy-free version.
- Using almond milk: As a lighter alternative to regular milk.
Essential Equipment for Success
Before you start, make sure you have these handy tools:
- Mixing Bowls: A set of various sizes for mixing ingredients.
- Measuring Cups and Spoons: For precise ingredient measurements.
- Baking Dish: A 9×13 inch dish works perfectly for this recipe.
- Whisk: To combine your wet and dry ingredients smoothly.
- Spatula: For spreading your batter and fruit filling evenly.
Serving Suggestions
Now that your cobbler is ready, here are some fun ways to serve it:
- With Ice Cream: A scoop of vanilla or cinnamon ice cream on top is heavenly.
- With Whipped Cream: A dollop of homemade whipped cream makes it extra special.
- As Breakfast: Yes, you can enjoy this cobbler for breakfast with a side of yogurt!
- With a Drizzle of Honey: A little honey on top can enhance the sweetness beautifully.
There you have it, folks! Your ultimate guide to mastering the bisquick cobbler. Whether you’re hosting a cozy night in or just craving something sweet, this recipe will not disappoint. Remember, cooking is an adventure, so embrace the mess and enjoy the delicious journey. Happy baking! 🍑✨

Bisquick Cobbler – Quick Bisquick Recipes & Delicious Desserts
Ingredients
Method
- Preheat oven to 350°F (175°C).
- Mix peaches, 1/2 cup sugar, lemon juice, cinnamon, and cornstarch. Set aside.
- Combine flour, remaining sugar, baking powder, and salt. Add milk, melted butter, and vanilla; mix until just combined.
- Pour batter into a greased baking dish. Spoon peach mixture over top.
- Bake for 45-50 minutes until golden. Cool slightly before serving.
Notes
Loved this recipe? Save it to your favorite Pinterest board so you can easily find it later! ✨