
Ah, Halloween! The time of year when the air gets a little crisper, the leaves turn beautiful shades of orange, and candy corn mysteriously disappears faster than my willpower at a dessert table. But let’s be real, one of the best parts of Halloween isn’t just the costumes or the spooky decorations; it’s the fun food! And today, I’m here to show you how to create a Boo-tifully Fun Spooky Skeleton Snack Platter that will have your friends and family screaming with delight (and maybe a few giggles). 🎃
This platter is not just a feast for the eyes but also a delicious way to get your veggies in. It’s the perfect centerpiece for a Halloween gathering or a fun family snack while you binge-watch your favorite spooky flicks. So, let’s roll up our sleeves, embrace the chaos, and whip up this fang-tastic platter that’s as easy as pie (or should I say, as easy as a skeleton’s bone?).
Why You’ll Absolutely Love This Spooky Skeleton Snack Platter
Let me hit you with the reasons why this spooky skeleton snack platter is going to be the star of your Halloween party:
- It’s a fun and creative way to serve veggies that even the pickiest eaters will love!
- The vibrant colors of the vegetables are a feast for the eyes and make your platter pop.
- It’s super easy to assemble – no culinary degree required here!
- You can customize it with your favorite dips and snacks to make it truly your own.
Ingredients You’ll Need
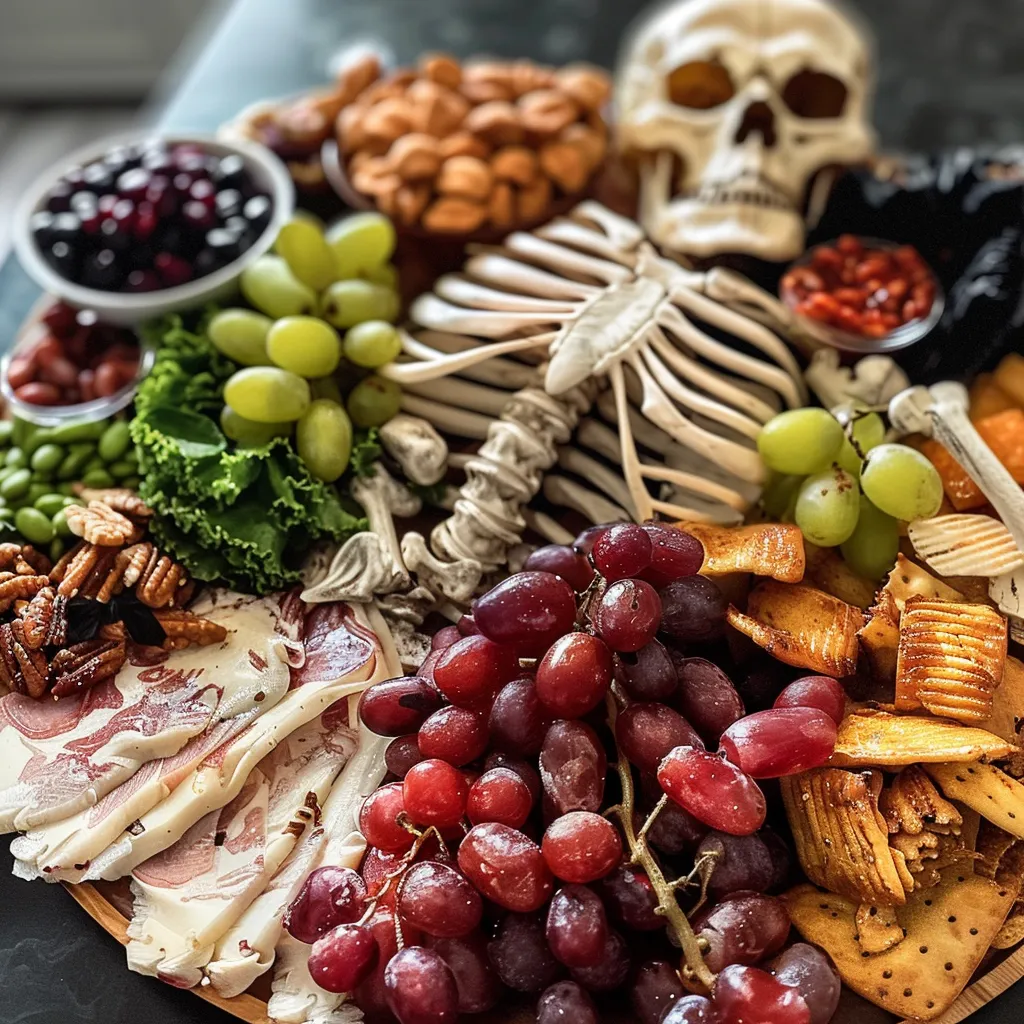
Alright, let’s talk about the ingredients! For this spooky creation, you’ll need a handful of simple yet delightful ingredients that are easy to find. I went with cauliflower florets for the skull (because what screams Halloween more than a skull?), black olives for the eyes, nose, and mouth, and zucchini to form the mouth. Don’t forget an assortment of your favorite veggies for serving – think carrots, bell peppers, or even some crunchy crackers.
You’ll find the full ingredient list with measurements in the recipe card below!
How to Make This Spooky Skeleton Snack Platter, Step-by-Step
Ready to get your hands a little messy? Let’s do this! First, grab a large serving platter and a sheet of parchment paper. You’ll want to trace a skull shape on that parchment paper. Don’t stress about it being perfect; this is all about having fun! Adjust the size based on your platter – remember, we’re eyeballing it here! Next, prepare all your veggies and set them aside, because we’re about to create some edible art.
Now, let’s make that zucchini mouth! Cut a slice lengthwise down the zucchini and shape it into a rectangle, using your skull outline as a guide. Once you’ve got that, lay the parchment paper in the center of your platter. Start laying down your cauliflower florets on top of the parchment paper cutout, going down to the mouth. Add the zucchini strip for the mouth, and then get creative with your black olives for teeth. Trust me; the more, the merrier!
Don’t forget to give your skeleton some eyes and a nose with those olives! Once your skeleton is looking fabulous, simply lay out an assortment of vegetables, crackers, or cheese around the skeleton. Feel free to get wild with it – the more colorful, the better!
Finally, serve it up with your favorite dip. I made a turmeric ranch that’s as delicious as it is vibrant. Enjoy the ooohs and aaahs as your guests dig in!
Pro Tips for the Best Results
Here are a few pro tips to ensure your spooky skeleton snack platter is a hit:
- Don’t be afraid to mix and match veggies! Use what you have on hand or what’s in season for the best flavor.
- If you want to save time, prep your veggies ahead of time! You can even make the skeleton shape in advance and store it in the fridge until party time.
- For an added spooky touch, consider using food-safe markers to draw little details on your olives or veggies!
Serving Suggestions
Now that your platter is complete, let’s talk about how to serve it up! You can place it as the centerpiece on your dining table or set it out on a coffee table for guests to munch on while they mingle. Pair it with some fun Halloween-themed drinks – think spooky mocktails or a punch that glows in the dark! And if you want to take it up a notch, add a few Halloween-themed plates and napkins for an extra festive touch.
Storage and Make-Ahead Tips
If you happen to have leftovers (which is a rare occurrence in my house!), you can store the veggies in an airtight container in the fridge for up to 3 days. Just know that the cauliflower may lose a bit of its crunch, but hey, it’s still tasty! You can also prep your skeleton components the day before – just keep them separate until you’re ready to assemble. This way, you’ll have more time to enjoy the festivities and less time in the kitchen!
So there you have it, my lovely friends! A Spooky Skeleton Snack Platter that’s not only delicious but also a blast to make. Whether you’re hosting a Halloween party or just want to add a little fun to your family’s snack time, this platter is sure to be a crowd-pleaser. Happy Halloween and happy munching! 🎉

Spooky Skeleton Snack Platter
Ingredients
Method
- Trace a skull shape on parchment paper, adjusting size to platter.
- Prepare vegetables; set aside.
- Cut zucchini lengthwise to create mouth; shape to fit skull.
- Lay parchment on platter; arrange cauliflower for the skull, add zucchini for the mouth, and olives for teeth, eyes, and nose.
- Arrange assorted vegetables around the skull; serve with dip.