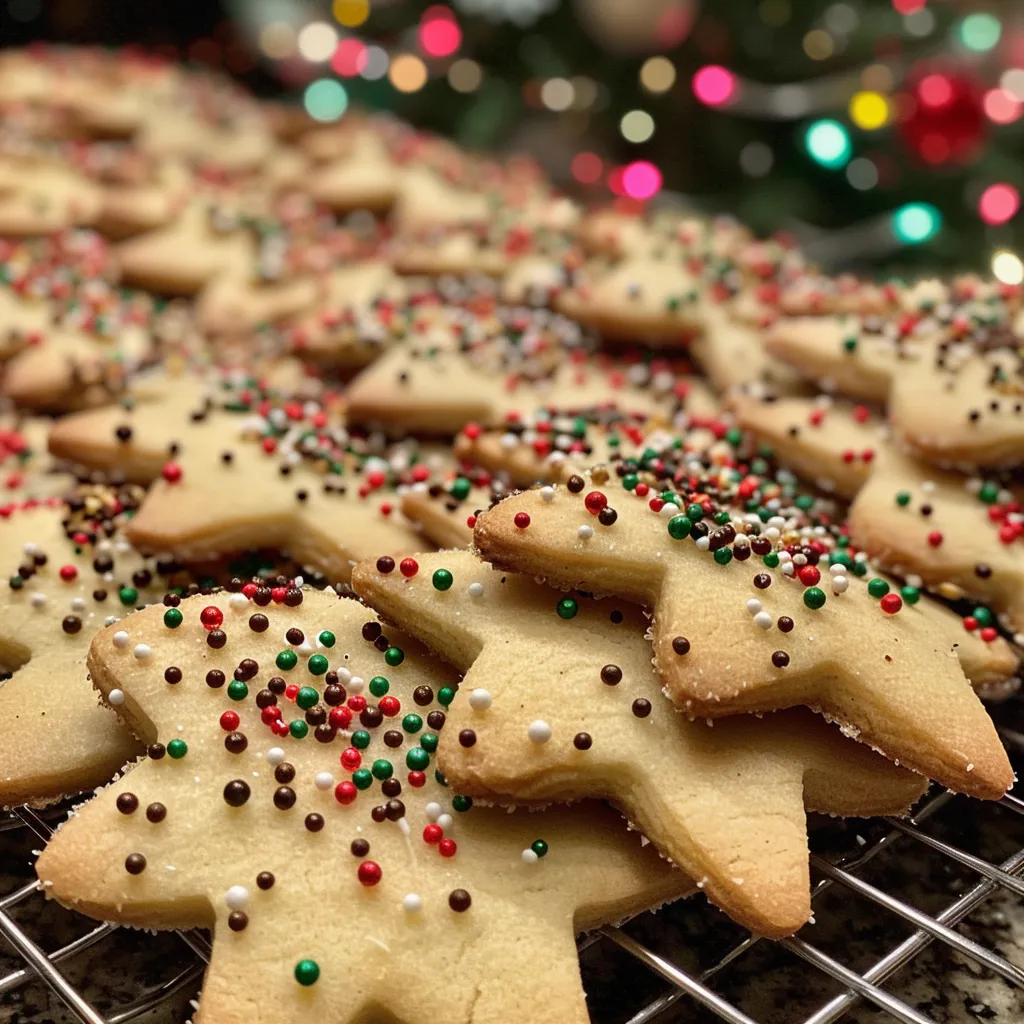
Ah, the holidays! A time for joy, laughter, and, let’s be honest, a little bit of chaos in the kitchen. I mean, who doesn’t love a good baking adventure that ends with a sprinkle-covered disaster? I still remember the first time I attempted to bake holiday cookies. It was a glorious mix of flour clouds and a sprinkle explosion, but boy, did we have fun! That’s the spirit I want you to embrace today with my Slice & Bake Christmas Cookies. These beauties are not just any cookies; they are a canvas for your creativity, a sweet treat for your loved ones, and a delightful way to spread holiday cheer. So, roll up your sleeves and let’s make some magic (and possibly a mess) together! 🍪✨
Why You’ll Absolutely Love Slice & Bake Christmas Cookies
Okay, let’s talk about why these cookies are destined to become your new holiday favorite. Trust me, once you take a bite, you’ll be hooked!
- They are ridiculously easy to make – perfect for those who think they can’t bake (spoiler: you can!).
- Customization is key! Add your favorite sprinkles or chocolate chips for a personal touch.
- These cookies are perfect for gift-giving, making holiday cookie trays, or just treating yourself (no judgment here!).
- They look absolutely stunning, and we all know that we eat with our eyes first!
Ingredients You’ll Need
Let’s chat about the ingredients. This cookie dough is like a warm hug from your oven, made with simple staples that you probably already have in your pantry. We start with unsalted butter, which gives the cookies a creamy richness. Then there’s the granulated sugar, because we all need a little sweetness in our lives. An egg and a splash of vanilla extract bring everything together, making your kitchen smell like a holiday dream.
Next, we have all-purpose flour, baking powder for a little lift, and salt to balance the sweet. And, of course, the fun part – colorful sprinkles or chocolate chips! You can mix and match these to your heart’s content.
You’ll find the full ingredient list with measurements in the recipe card below!
How to Make Slice & Bake Christmas Cookies, Step-by-Step
Alright, let’s get down to business! Follow these steps, and you’ll be munching on delicious cookies in no time:
- In a large mixing bowl, cream together the softened butter and granulated sugar until light and fluffy. This is where the magic starts, so take your time and enjoy the process!
- Beat in the egg and vanilla extract until well combined. You should see that beautiful, creamy mixture come together.
- In a separate bowl, whisk together the flour, baking powder, and salt. You want these dry ingredients to be well mixed, so don’t skip this step!
- Gradually add the dry ingredients to the wet mixture, mixing until just combined. We’re not trying to overmix here; we want those cookies to stay soft and chewy.
- Fold in the sprinkles or chocolate chips. This is where you can let your creativity shine! Go wild!
- Divide the dough in half and shape each half into a log, about 2 inches in diameter. This is your cookie dough on a diet – it’s all about those slices!
- Wrap each log in plastic wrap and refrigerate for at least 2 hours or until firm. Patience is key here, my friends!
- Preheat the oven to 350°F (175°C) while you wait. The anticipation is part of the fun!
- Slice the chilled dough into 1/4-inch thick rounds and place them on a baking sheet lined with parchment paper. They don’t need to be perfect – remember, we’re embracing the crumbs here!
- Bake for 10-12 minutes or until the edges are lightly golden. Your kitchen will smell divine!
- Let the cookies cool on the baking sheet for a few minutes before transferring them to a wire rack to cool completely. Try not to eat them all at once!
Pro Tips for the Best Results
Here are a few tips from my kitchen to yours to ensure your baking adventure is a success:
- Make sure your butter is softened but not melted. This helps cream it properly with the sugar, and we don’t want a cookie puddle!
- If you want your cookies to have a little extra flair, try adding a pinch of cinnamon or nutmeg to the dry ingredients. It’s like a warm hug in cookie form!
- Don’t skip the chilling step! This is crucial for achieving that perfect slice and keeping the cookies from spreading too much.
Serving Suggestions
Once your cookies are cool and ready to go, how do you serve them? Here are some fun ideas:
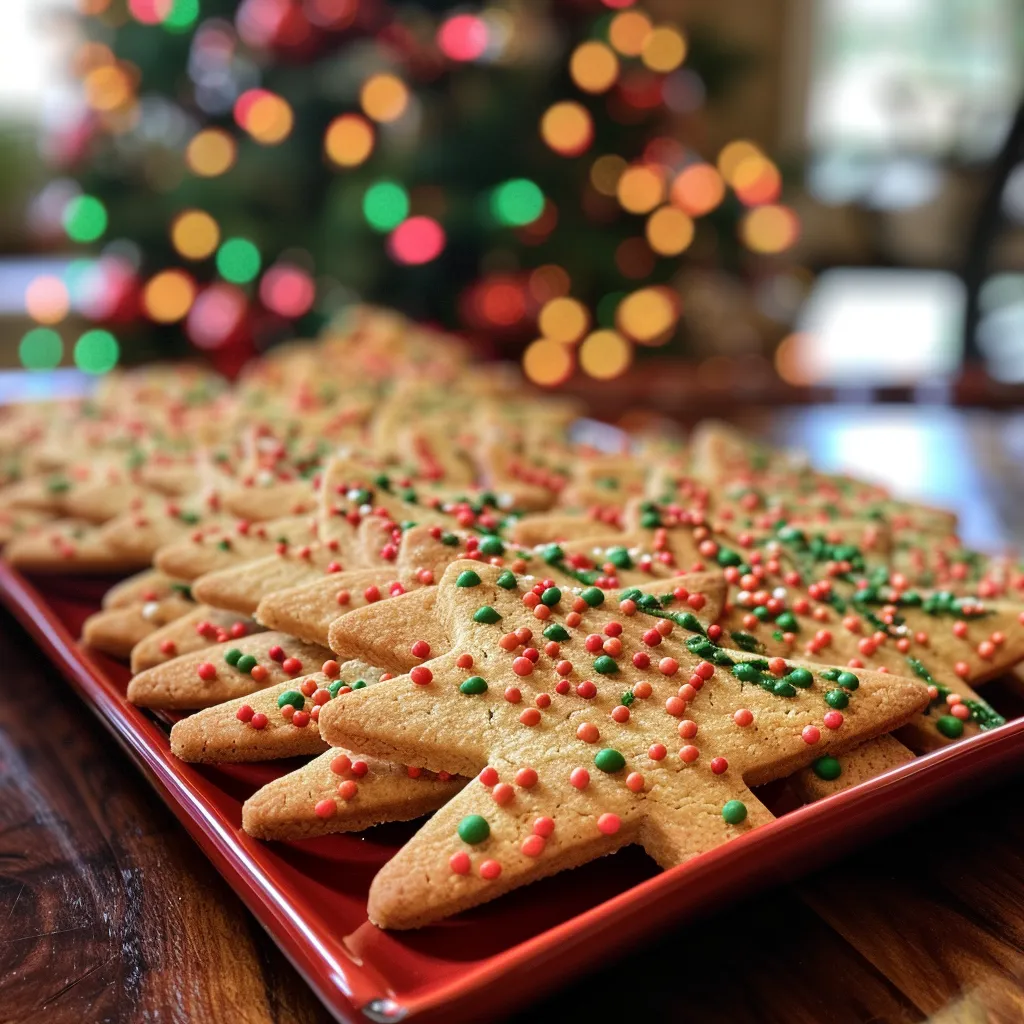
- Arrange them on a festive holiday platter for a stunning centerpiece at your next gathering.
- Wrap them in cute cellophane bags with a ribbon for a charming gift that your friends and family will love.
- Pair them with a hot cup of cocoa or a glass of milk for the ultimate cozy treat!
Storage and Make-Ahead Tips
Now that you’ve got these beautiful cookies, let’s talk about how to keep them fresh. You can store them in an airtight container at room temperature for about a week (if they last that long!). If you want to make them ahead, you can prepare the dough and keep the logs in the fridge for up to a week or freeze them for up to a month. Just make sure to thaw them before slicing and baking. This way, you can whip up fresh cookies whenever the mood strikes!

Slice & Bake Christmas Cookies
Ingredients
Method
- Cream butter and sugar until fluffy.
- Mix in egg and vanilla.
- Whisk dry ingredients and combine with wet mixture.
- Fold in sprinkles or chocolate chips, shape into logs, and refrigerate.
- Slice chilled dough and bake at 350°F (175°C) for 10-12 minutes.
Notes
Loved this recipe? Save it to your favorite Pinterest board so you can easily find it later! It’s the perfect way to keep all your sweet ideas in one place. ✨