Oh, the holiday season! A time when the air is filled with the scent of pine, the sound of laughter, and the delightful chaos of holiday baking. This year, I decided to embrace the festive spirit by whipping up a batch of Christmas Tree Cookies that are not only cute but also deliciously buttery. Now, I’m no professional baker, but let’s be real — baking is just cooking with a little more glitter and a lot more joy! So, grab your favorite apron (the one with the stains from last year’s adventures) and let’s get ready to make some magic — and maybe a bit of a mess.
These cookies are perfect for sharing with family, friends, or anyone who needs a little extra sweetness in their life. Plus, they’re just so darn cute. I mean, who wouldn’t want to munch on a tiny green tree adorned with sprinkles? So, let’s dive into this whimsical journey of baking Christmas Tree Cookies that are as fun to make as they are to eat!
Why You’ll Absolutely Love Christmas Tree Cookies
These Christmas Tree Cookies are not just any cookies; they’re a festive celebration in every bite! Whether you’re a seasoned baker or someone who just wants to dabble in the kitchen, here’s why you’ll absolutely adore them:
- They’re delightfully buttery and melt-in-your-mouth delicious.
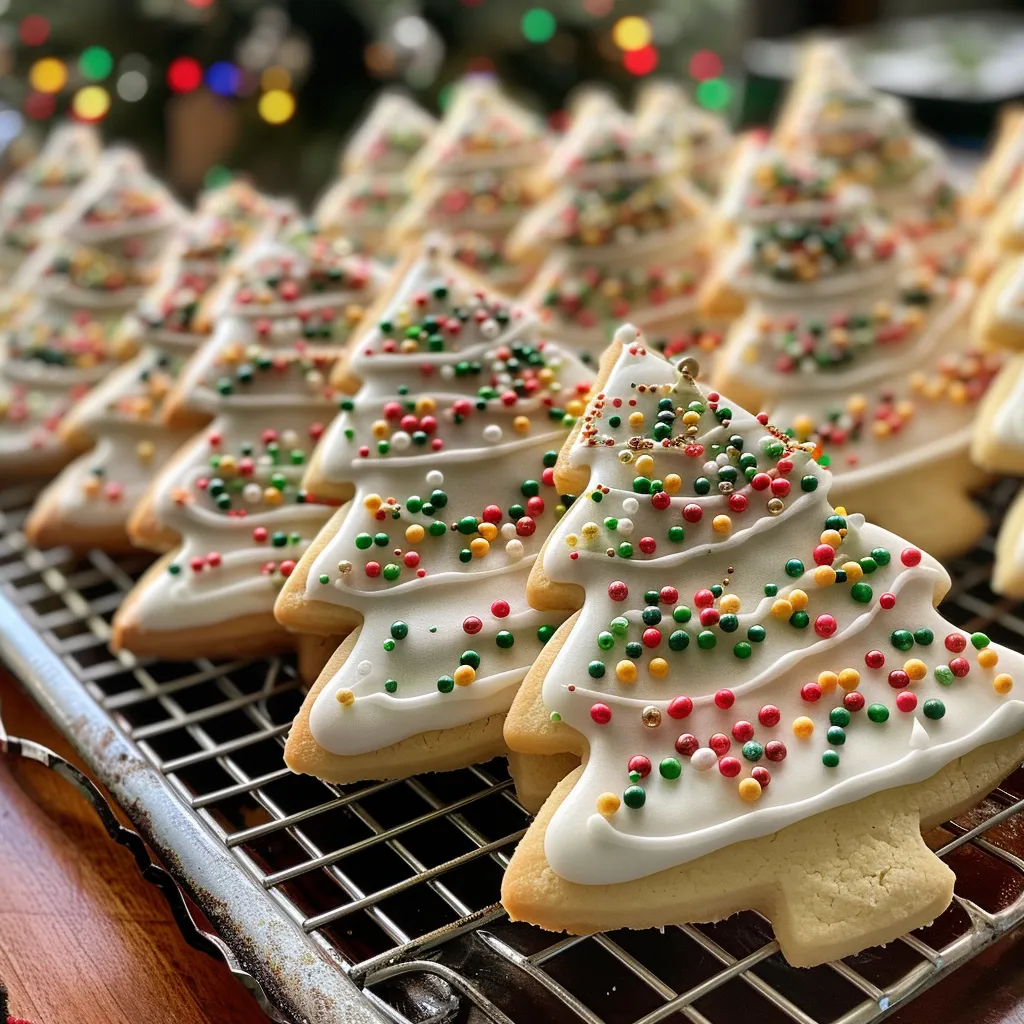
- Perfect for decorating — unleash your inner artist with royal icing and sprinkles!
- Great for holiday gatherings, cookie swaps, or just indulging yourself (no judgment here!).
- Making them is a fun activity to share with family and friends — the more, the merrier!
Ingredients You’ll Need
Alright, let’s talk about the star players in our festive cookie saga. We’re keeping it simple yet oh-so-delicious! Here’s what you’ll need:
- 2 3/4 cups all-purpose flour — because we need a sturdy base for our trees.
- 1 teaspoon baking powder — to give our cookies that perfect lift.
- 1/2 teaspoon salt — a little pinch to bring out all those lovely flavors.
- 1 cup unsalted butter, softened — the heart and soul of any good cookie!
- 1 1/2 cups granulated sugar — because we want it sweet, baby!
- 1 egg — our binding agent, holding everything together.
- 1 teaspoon vanilla extract — for that warm, cozy flavor.
- 1 teaspoon almond extract — because why not add a little extra magic?
- Green food coloring — to give our trees that festive hue.
- Royal icing (for decoration) — the glue that holds our sprinkles on!
- Sprinkles or edible decorations — because we’re here for the sparkle!
You’ll find the full ingredient list with measurements in the recipe card below!
How to Make Christmas Tree Cookies, Step-by-Step
Ready to get your bake on? Here’s how we’re going to turn these ingredients into festive tree-shaped delights:
- Preheat your oven to 350°F (175°C). Let’s get that oven nice and toasty!
- In a bowl, whisk together the flour, baking powder, and salt. This is the dry squad — they’re going to hang out until we call them in!
- In a separate large bowl, cream together the softened butter and sugar until light and fluffy. This is where the magic starts happening, folks. You want it to be like a cloud of happiness!
- Beat in the egg, vanilla extract, and almond extract. Whisk it like you mean it — we want everything combined and singing together!
- Gradually add the dry ingredients to the wet ingredients, mixing until just combined. Don’t overdo it; we want to keep our cookies tender!
- Add green food coloring to the dough until the desired shade is achieved. Go wild! Make it as green as you want — it’s your festive masterpiece!
- Roll out the dough on a floured surface to about 1/4 inch thick. Don’t forget to flour your rolling pin too; nobody likes sticky situations!
- Cut out tree shapes using a cookie cutter and place them on a baking sheet lined with parchment paper. Feel free to get creative with other shapes too!
- Bake for 8-10 minutes or until the edges are lightly golden. The aroma will fill your kitchen and make you feel all warm and fuzzy!
- Allow cookies to cool completely before decorating with royal icing and sprinkles. Patience is key, my friend!

Pro Tips for the Best Results
Now that you’re a Christmas Tree Cookie pro, here are a few tips to make sure your cookies turn out even better:
- For perfectly shaped trees, chill your dough for about 30 minutes before rolling it out. This helps them hold their shape while baking!
- If you’re feeling adventurous, try adding edible glitter to your royal icing for a dazzling finish. Sparkle is always a good idea!
- Don’t be afraid to mix and match your decorations. Use colored sprinkles, candy canes, or even chocolate chips to create a unique look for each cookie!
Serving Suggestions
These delightful cookies are versatile enough for any occasion. Here are a few fun ideas on how to serve them:
- Arrange them on a festive platter to impress your holiday guests — presentation is everything!
- Package them in cute bags tied with ribbons as homemade gifts for friends and family.
- Use them as a centerpiece for your holiday table — who wouldn’t want to feast their eyes on these beauties?
Storage and Make-Ahead Tips
Want to keep your cookie game strong even after the baking frenzy? Here’s how to store them:
- Keep your decorated cookies in an airtight container at room temperature for up to a week. They’ll stay fresh and delicious!
- If you want to make the dough ahead of time, you can refrigerate it for up to 3 days or freeze it for up to a month. Just let it thaw in the fridge before rolling it out.
And there you have it! My festive adventure in baking Christmas Tree Cookies. Remember, it’s all about the fun, the mess, and the memories we create in the kitchen. Happy baking, and may your holiday season be filled with joy, laughter, and an abundance of cookies!

Christmas Tree Cookies
Ingredients
Method
- Preheat oven to 350°F (175°C).
- Mix dry ingredients; cream butter and sugar, then add egg and extracts.
- Add food coloring to dough, roll out, cut into tree shapes, and bake 8-10 minutes.
- Cool cookies completely, then decorate with royal icing and sprinkles.
Notes
Loved this recipe? Save it to your favorite Pinterest board so you can easily find it later! It’s the perfect way to keep all your sweet ideas in one place. ✨