
Hey there, cookie lovers! Today, we’re diving into a delightful adventure that’s all about color, sweetness, and a sprinkle of chaos—just the way I like it! If you’ve ever wanted to unleash your inner artist in the kitchen while also indulging your sweet tooth, then look no further than these Easy Stained Glass Cookies. They’re not just treats; they’re edible pieces of art that will make your heart sing and your taste buds dance!
Picture this: a cozy afternoon, flour dusting the countertops like a winter wonderland, and the smell of buttery goodness wafting through the air. You’ve got your favorite playlist on, maybe a glass of something bubbly in hand (or a cup of coffee, no judgment here!), and you’re ready to whip up some magic. But beware, my friends, because while these cookies are fun to make, they might just lead to a kitchen mess that would make a tornado proud. Let’s embrace the chaos together!
Why You’ll Absolutely Love Easy Stained Glass Cookies
These cookies are not your average sugar cookies; they’re a whimsical treat that brings joy to any occasion. Here’s why you’ll fall head over heels for them:
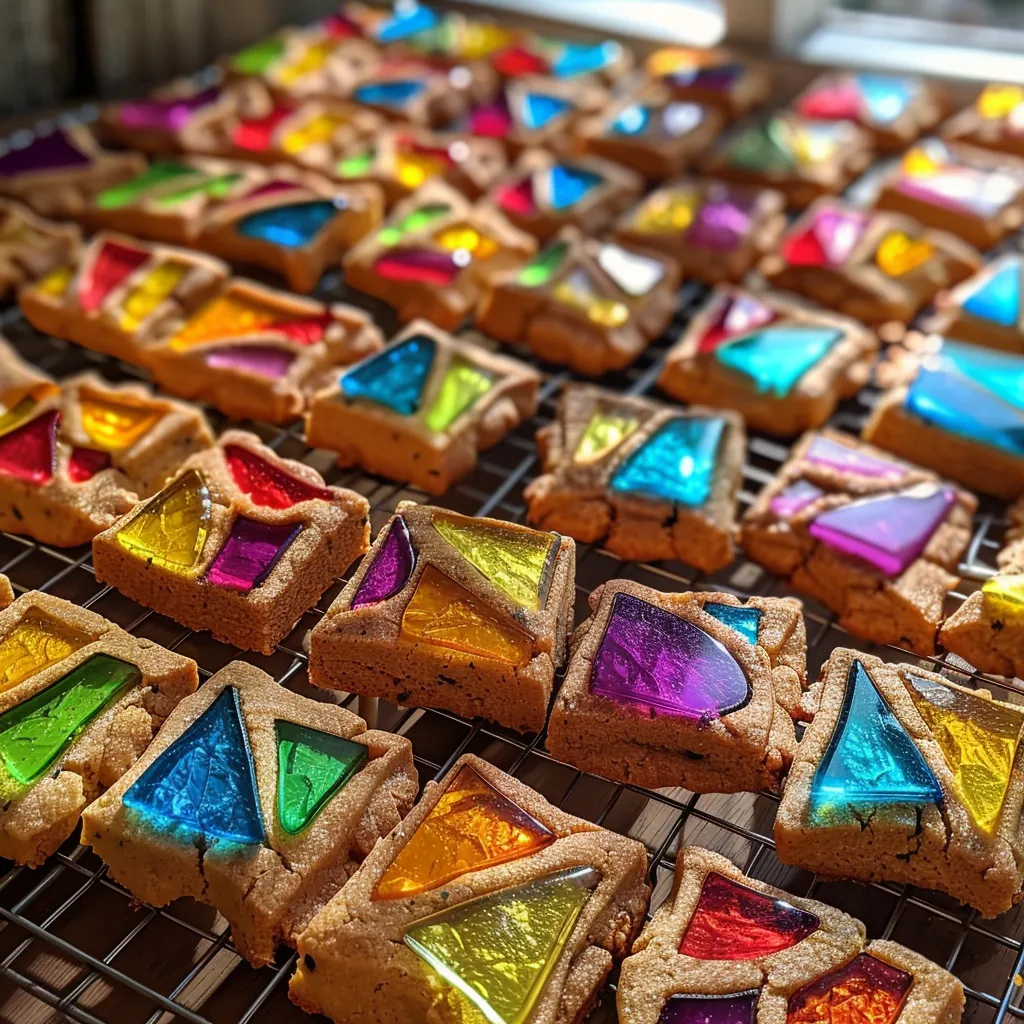
- They’re visually stunning! These cookies are like little windows of color, perfect for impressing friends and family.
- Super easy to make! With just a few ingredients and steps, you’ll be a stained glass cookie pro in no time.
- Perfect for any occasion! Whether it’s Christmas, birthdays, or just a whimsical afternoon bake-off, these cookies fit right in.
- Fun for the whole family! Get the kids involved in decorating and crushing the candies—messy hands, happy hearts!
Ingredients You’ll Need
Let’s talk ingredients! For this recipe, we’re keeping it simple yet oh-so-delicious. You’ll need:
- 1 cup unsalted butter, softened – because butter makes everything better, am I right?
- 1 cup granulated sugar – to give those cookies a lovely sweetness.
- 1 large egg – the magic binding ingredient.
- 1 teaspoon vanilla extract – for that warm, cozy flavor.
- 2 1/2 cups all-purpose flour – the backbone of our cookie dough.
- 1 teaspoon baking powder – to help them rise and shine.
- 1/2 teaspoon salt – because a pinch of salt elevates everything.
- 1 cup crushed hard candies (like Jolly Ranchers) – the star of our stained glass show!
You’ll find the full ingredient list with measurements in the recipe card below!
How to Make Easy Stained Glass Cookies, Step-by-Step
Alright, let’s get to the fun part—baking these beauties! Follow along, and I promise you’ll be snacking on colorful cookies in no time. Here’s how it goes:
- Preheat your oven to 350°F (175°C). This is the perfect time to crank up your favorite tunes and get in the baking mood!
- In a large bowl, cream the softened butter and sugar together until light and fluffy. Seriously, it should look like a happy cloud!
- Add in your egg and vanilla extract, mixing until well combined. It’s like a little dance party in your bowl!
- In a separate bowl, whisk together the flour, baking powder, and salt. This is your dry mix, and it’s going to be the foundation of your cookies.
- Gradually add the dry ingredients to the wet mixture, mixing until a dough forms. Don’t be afraid to get your hands in there and give it a good knead!
- Divide the dough into two equal portions and wrap each in plastic wrap. Pop them in the fridge for at least 1 hour. This is crucial for getting that perfect cookie texture.
- Once chilled, roll out one portion of the dough on a floured surface to about 1/4 inch thick. Get ready to unleash your inner artist!
- Use cookie cutters to cut out shapes, and then use a smaller cookie cutter to cut out the centers. This is where the stained glass magic happens!
- Place the cookies on a baking sheet lined with parchment paper, and fill the centers with crushed hard candies. Don’t skimp on the candy; we want those vibrant colors!
- Bake in the preheated oven for 8-10 minutes, or until the edges are lightly golden. Keep an eye on them; we don’t want burnt edges ruining our masterpiece!
- Let the cookies cool completely on the baking sheet before transferring to a wire rack. Patience, my friend; it’ll be worth it!
Pro Tips for the Best Results
Now that you’re a stained glass cookie pro, here are a couple of tips to ensure your cookies turn out fabulous:
- Don’t skip the chilling step! It’s essential for keeping your cookies from spreading too much during baking.
- Experiment with different hard candy flavors! Rainbow colors and flavors will make your cookies even more fun.
- If you’re feeling extra creative, try adding sprinkles or edible glitter on top after they cool for some extra pizzazz!
Serving Suggestions
These cookies are not just a treat; they’re a statement! Here are some fun ways to serve them:
- Arrange them on a colorful platter for a vibrant dessert table.
- Wrap a few in cellophane bags and tie with a ribbon for adorable party favors.
- Pair them with a scoop of vanilla ice cream for an unforgettable dessert experience!
Storage and Make-Ahead Tips
Got leftovers? (Or maybe you just want to make a batch ahead of time?) Here’s how to keep your cookies fresh:
- Store cookies in an airtight container at room temperature for up to a week. You’ll want to keep them away from humidity to maintain their crunch.
- For longer storage, freeze the unbaked dough! Just wrap it tightly in plastic wrap and pop it in the freezer. When you’re ready for fresh cookies, just thaw and bake!
There you have it! An adventure in baking that’s as colorful as it is delicious. Embrace the mess, enjoy the process, and most importantly, share these scrumptious stained glass cookies with the people you love. Until next time, happy baking and may your kitchen be filled with laughter (and maybe just a little bit of chaos)! 🍪✨

Easy Stained Glass Cookies
Ingredients
Method
- Preheat oven to 350°F (175°C).
- Cream butter and sugar, add egg and vanilla, then mix in dry ingredients to form dough.
- Divide dough, chill for 1 hour, then roll out to 1/4 inch thick.
- Cut out shapes, make centers, fill with crushed candies, and bake for 8-10 minutes.
- Cool completely before serving.
Notes
Loved this recipe? Save it to your favorite Pinterest board so you can easily find it later! It’s the perfect way to keep all your sweet ideas in one place. ✨
