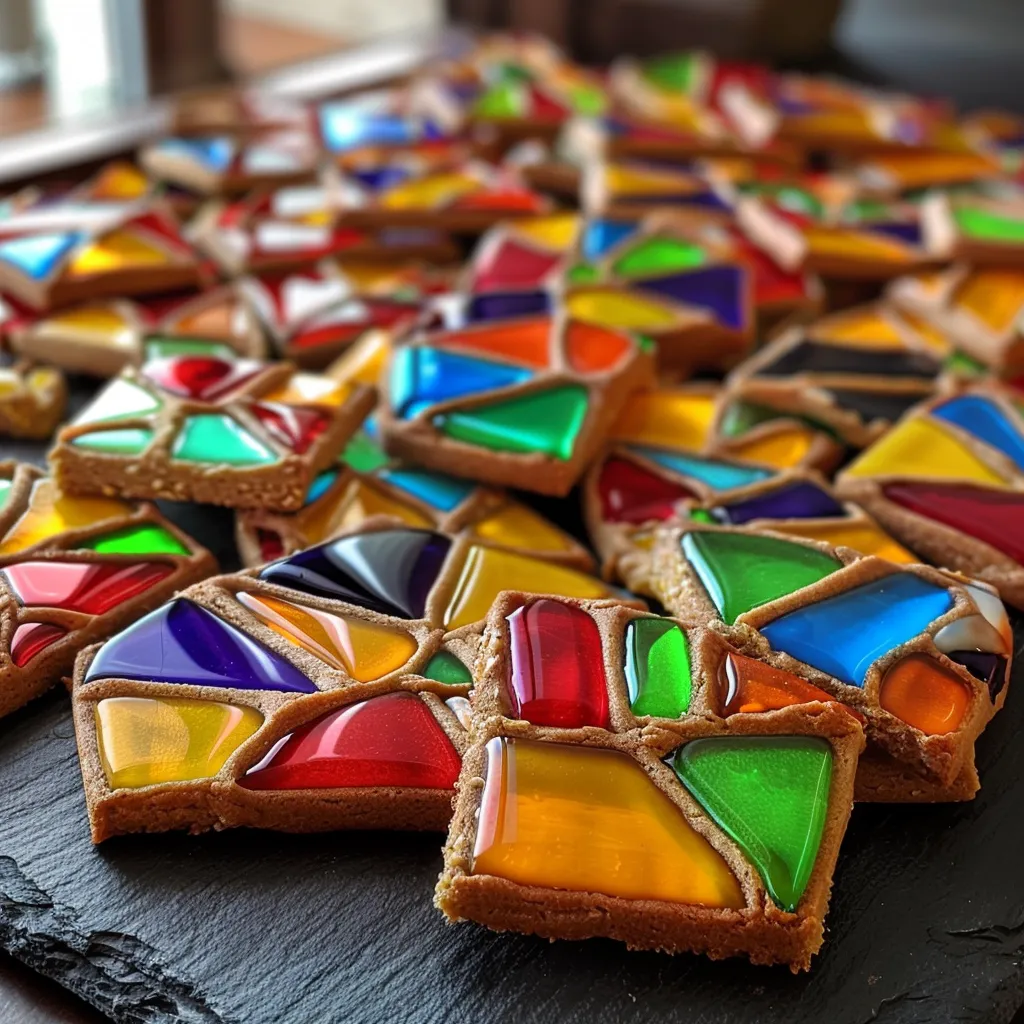
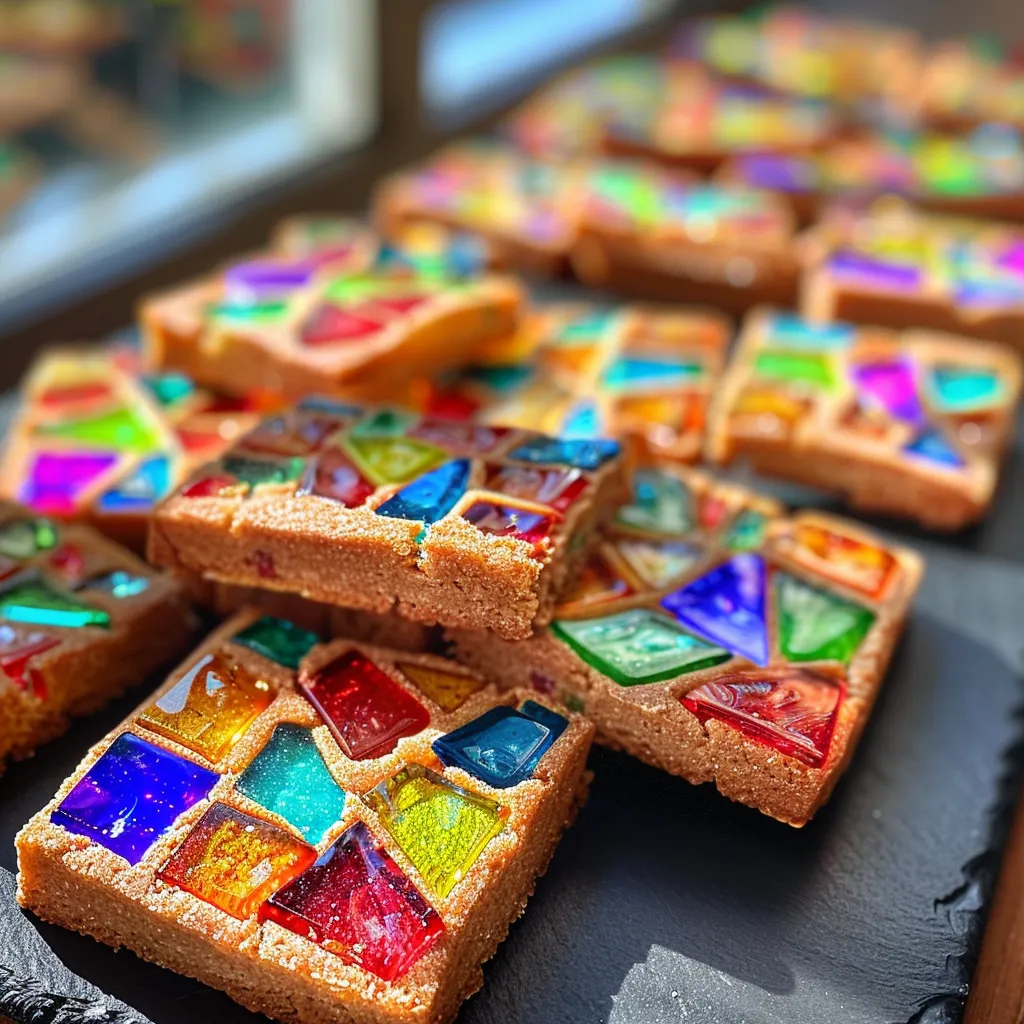
Hey there, cookie lovers! Gather ’round because today we’re diving into a deliciously colorful world of Easy Stained Glass Cookies! 🌈 If you’ve ever looked at a cookie and thought, “Wow, that looks too pretty to eat,” then these beauties are about to change your mind. Picture this: a buttery, sweet cookie with vibrant, translucent centers that shimmer like stained glass in the sunlight. Perfect for the holidays, or any day you want to add a sprinkle of joy to your life (which, let’s be honest, is every day!).
Now, let me take you back to my first attempt at these cookies. I was in my tiny kitchen, armed with nothing but a bowl, a wooden spoon, and a dream. Spoiler alert: there were a few flour explosions and candy mishaps along the way. But hey, that’s what makes the kitchen an adventure, right? So, roll up your sleeves, grab your favorite apron (or just one that’s not covered in last week’s sauce), and let’s make some magic — and maybe a bit of a mess — together! 🍴✨
Why You’ll Absolutely Love Easy Stained Glass Cookies
These cookies are not just pretty; they’re a delightful way to unleash your inner artist! Here’s why you’ll absolutely adore them:
- They’re a feast for the eyes! Seriously, who can resist those colorful candy-filled centers?
- Perfect for all ages! Get the kids involved for a fun afternoon of cookie decorating and chaos.
- They’re versatile! Change up the candy colors for different holidays or celebrations. Red and green for Christmas, pastel for Easter — you get the idea!
- They make great gifts! Who wouldn’t love receiving a box of these beauties? Just don’t forget to keep some for yourself!
Ingredients You’ll Need
Let’s talk about the stars of the show! Here’s what you’ll need to whip up these delightful cookies:
- 1 cup unsalted butter, softened
- 1 cup sugar
- 1 large egg
- 1 teaspoon vanilla extract
- 2 1/2 cups all-purpose flour
- 1 teaspoon baking powder
- 1/2 teaspoon salt
- 1 cup crushed hard candy (like Jolly Ranchers)
Why these ingredients? Well, butter and sugar create a rich, sweet base (the kind that makes your heart skip a beat), and the hard candy? That’s where the magic happens! When baked, they melt down into beautiful, glass-like centers that are simply irresistible.
You’ll find the full ingredient list with measurements in the recipe card below!
How to Make Easy Stained Glass Cookies, Step-by-Step
Alright, friends, let’s get down to business! Here’s how to create these stunning cookies, step by step:
- Preheat your oven to 350°F (175°C). This is the perfect temperature for cookies to get that beautiful golden edge.
- In a large bowl, cream together the softened butter and sugar until light and fluffy. I usually just use a good ol’ wooden spoon, but if you have a mixer, go ahead and let it do the heavy lifting!
- Beat in the egg and vanilla extract until well combined. Seriously, the smell of vanilla is like a hug for your nose.
- In another bowl, whisk together the flour, baking powder, and salt. Make sure to whisk it well — we want those dry ingredients to be best friends!
- Gradually add the dry ingredients to the wet mixture, mixing until just combined. Don’t overmix; we’re not looking for a workout here!
- Divide the dough into two equal parts and wrap in plastic wrap. Chill in the refrigerator for at least 30 minutes. Trust me, this step is crucial for easier rolling!
- Once chilled, roll out one piece of dough on a floured surface to about 1/4 inch thick. Now’s the time to get creative with your cookie cutters!
- Use cookie cutters to cut out shapes and transfer them to a baking sheet lined with parchment paper. Make sure to leave some space between the cookies — they like their personal bubble!
- Use a smaller cookie cutter or knife to cut out the center of each cookie shape. This is where the candy magic will go!
- Fill the center cut-outs with crushed hard candy. Don’t be shy; pile it in there! The more, the merrier!
- Bake in the preheated oven for 8-10 minutes, or until the edges are lightly golden. Keep an eye on them; you don’t want to miss that golden moment!
- Let the cookies cool on the baking sheet for a few minutes, then transfer them to a wire rack to cool completely. Try to resist the urge to eat them right away — I know, it’s hard!
Pro Tips for the Best Results
Here are a few tips to ensure your stained glass cookies turn out perfectly:
- Make sure your butter is softened but not melted. A good rule of thumb is to let it sit at room temperature for about 30 minutes before starting.
- If you want to get fancy, you can use different colored candies for each cookie to create a rainbow effect. Just remember that darker colors might turn a bit murky when baked, so stick with lighter shades for the best results!
- Don’t skip the chilling step! It helps the cookies hold their shape while baking and prevents them from spreading too much.
Serving Suggestions
These cookies are perfect for any occasion! Here are a few serving ideas:
- Arrange them on a colorful platter for a festive dessert table at parties.
- Wrap them up in cute bags with ribbons for a charming homemade gift.
- Serve them alongside a warm cup of cocoa or tea — the melted candy center is heavenly with a warm drink!
Storage and Make-Ahead Tips
Wondering how to keep these beauties fresh? Here’s what you need to know:
- Store the cookies in an airtight container at room temperature for up to a week. They’ll last longer, but let’s be real, they probably won’t last that long!
- If you want to make them ahead of time, you can prepare the dough, wrap it tightly, and freeze it for up to a month. Thaw in the fridge overnight before rolling and baking.
- Once baked, you can freeze the cookies as well. Just make sure they’re completely cooled before transferring them to a freezer-safe container.
And there you have it, my lovely food adventurers! With these Easy Stained Glass Cookies, you’ll have a sweet treat that’s as fun to make as it is to eat. Happy baking, and may your kitchen be filled with laughter and a sprinkle of chaos! 🍪✨

Easy Stained Glass Cookies
Ingredients
Method
- Preheat oven to 350°F (175°C).
- Cream butter and sugar, then add egg and vanilla.
- Mix in flour, baking powder, and salt. Chill dough for 30 minutes.
- Roll out dough, cut shapes, and cut out centers. Fill centers with crushed candy.
- Bake for 8-10 minutes until edges are golden. Cool on wire rack.
Notes
Loved this recipe? Save it to your favorite Pinterest board so you can easily find it later! It’s the perfect way to keep all your sweet ideas in one place. ✨